How to Integrate Domain with Cloudflare
Want a safer and faster website? Learn how to easily integrate your Flaz Cloud domain with Cloudflare by changing Nameserver settings in your dashboard.
Using Cloudflare is an excellent way to protect your website from disruptions and speed up access for visitors from various locations. To connect it, you only need to change your domain's Nameserver address in the Flaz Cloud dashboard to point to the Cloudflare system.
This process is very safe and will not delete your website data. By following the steps below, your website will receive additional protection and free data traffic-saving features.
Step 1 Add Site to Cloudflare
First, please log in to your Cloudflare account. If you don't have one yet, you can register first using an active email.
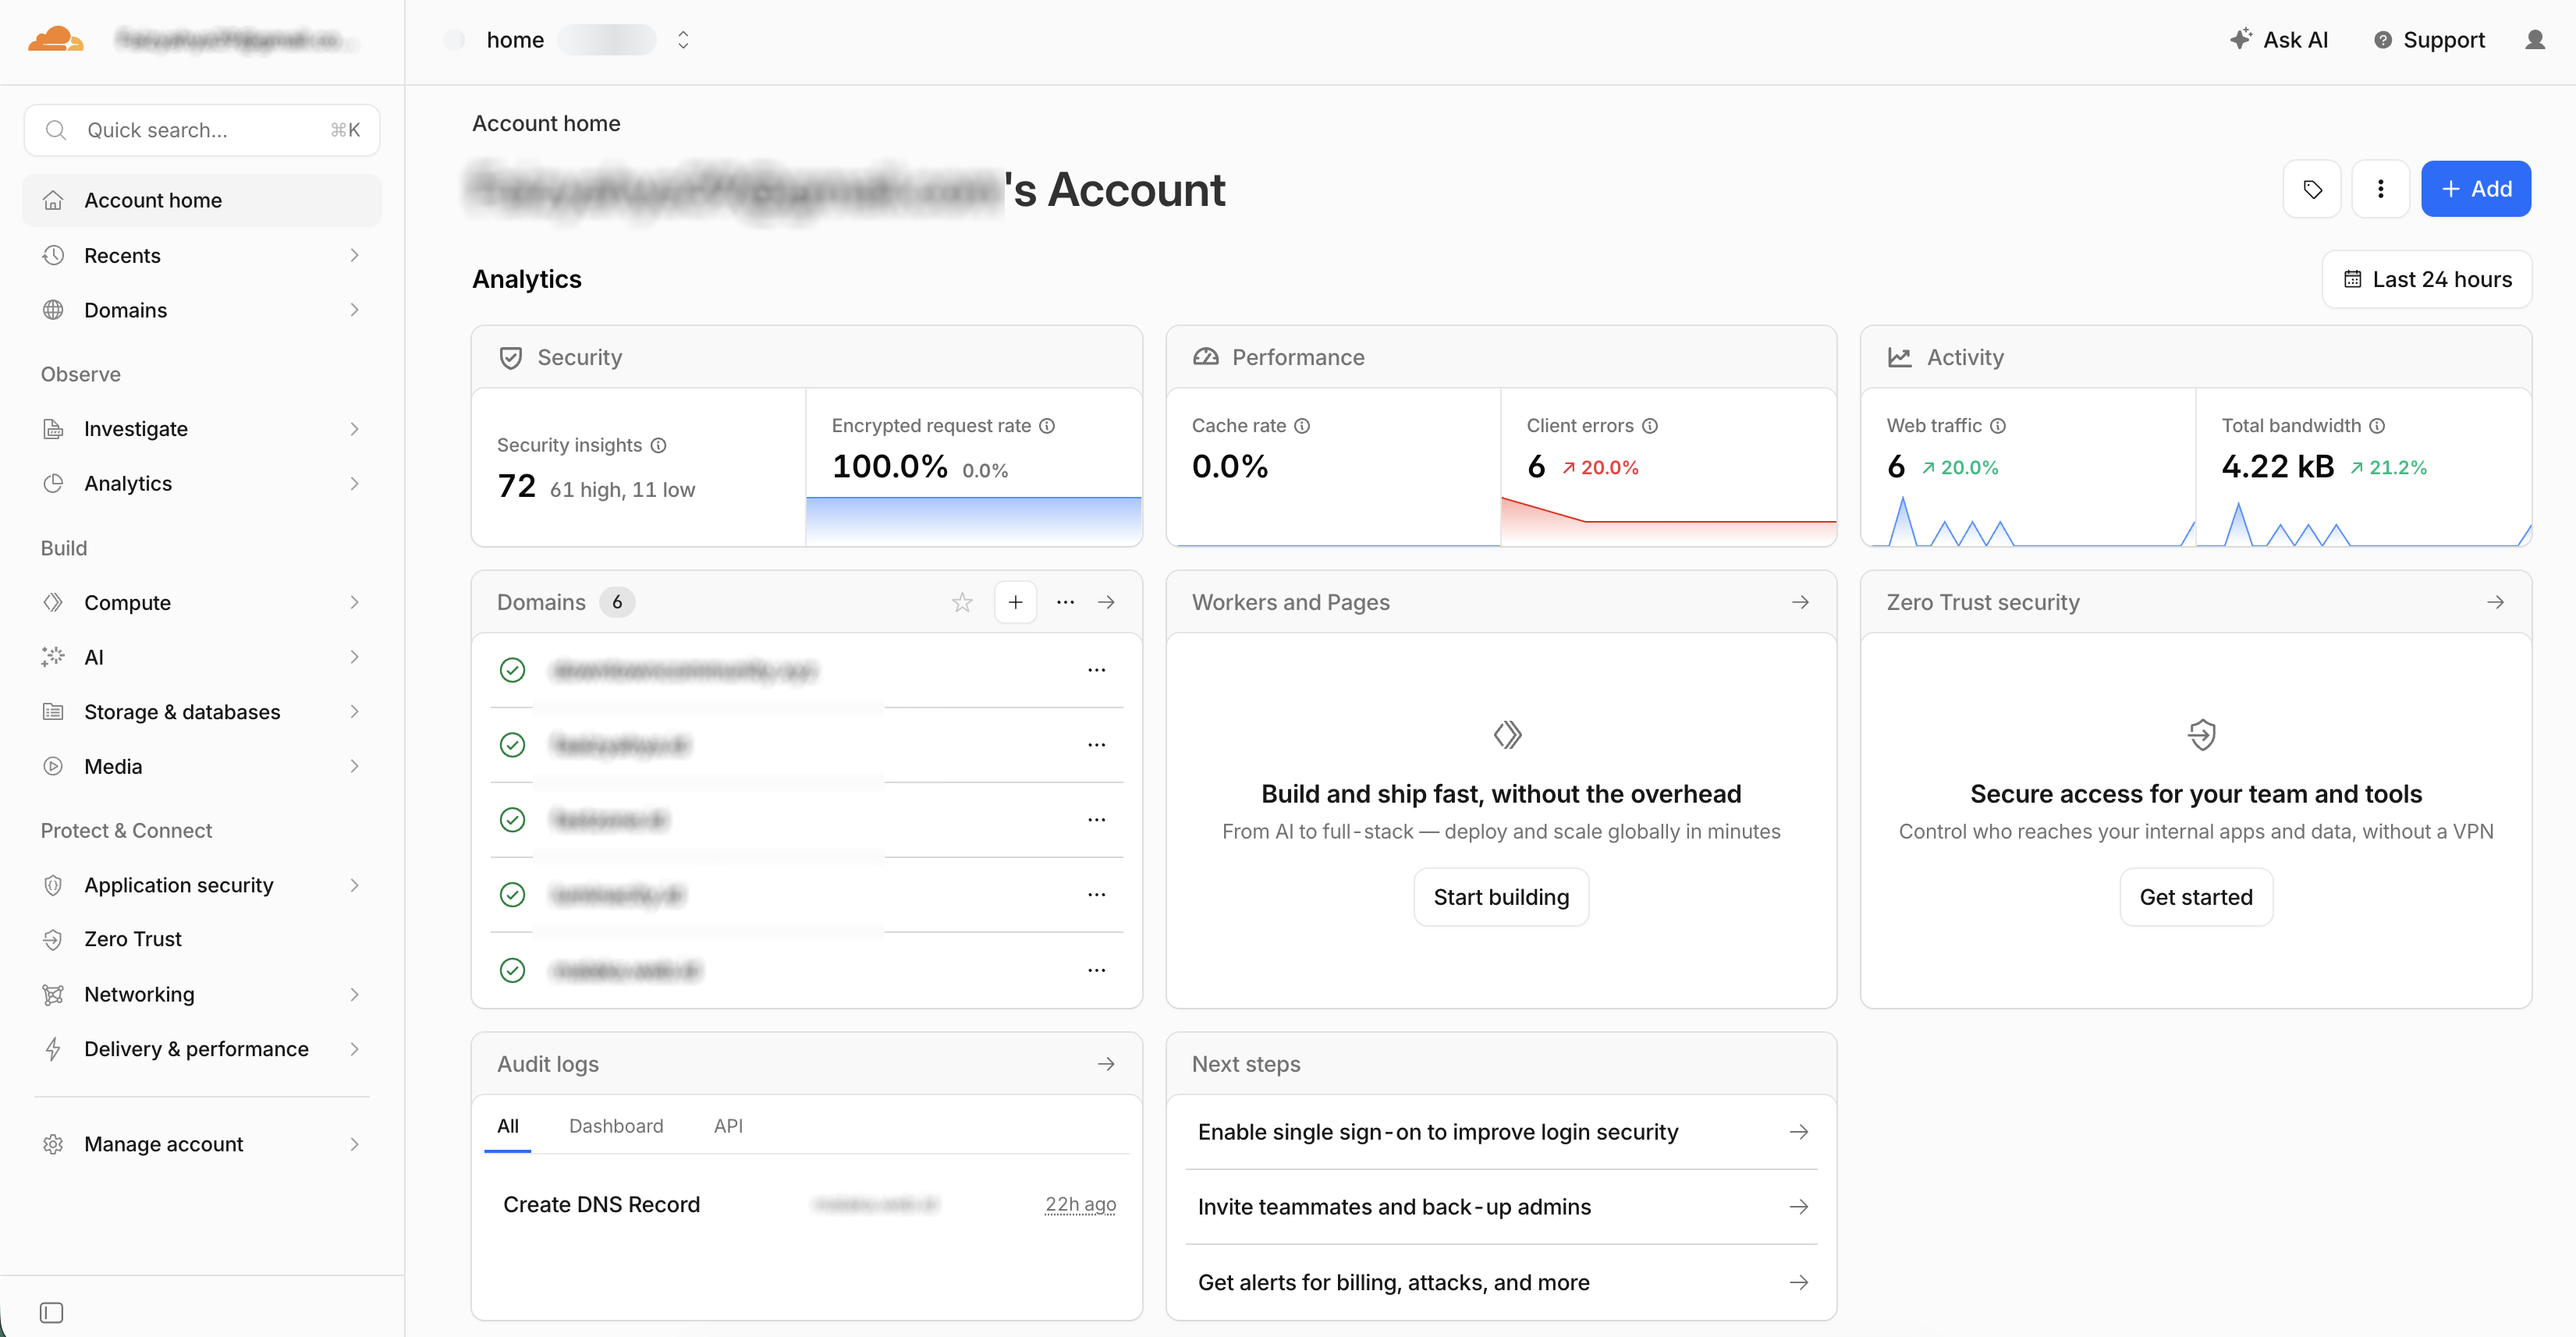
After logging in, click the Add button and enter your domain name (example: yourdomain.com). Cloudflare will ask you to choose a service plan. If it's only for personal use or small business, select the Free plan located at the bottom.
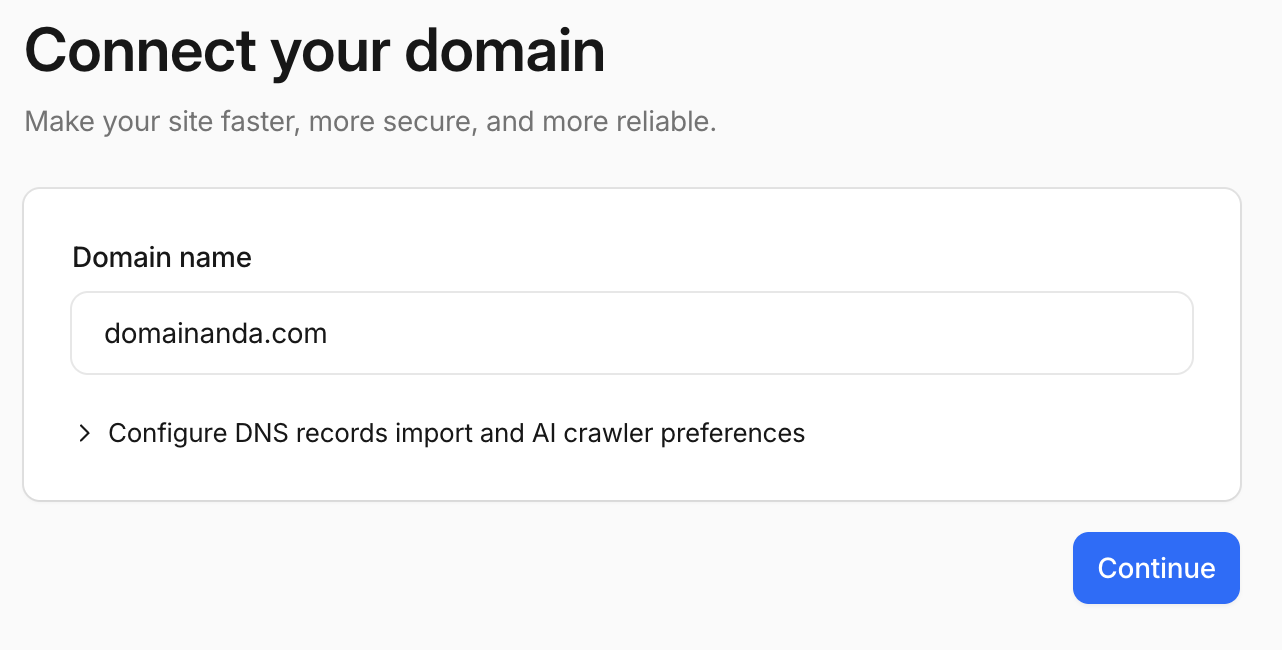
Click Continue to proceed. If you don't have a domain to try yet, please see How to Register a New Domain at Flaz Cloud so you can have your own website address.
Step 2 Check DNS Records
After the domain is added, Cloudflare will automatically scan all DNS records that currently exist on your domain. You will see a list such as A Record, CNAME, and MX Record.
Make sure all data matches your server settings. If something is missing, you can add it manually. If you're confused about the function of each record, you can review the How to Add DNS Record in Flaz Cloud guide as a reference. After confirming the data is correct, click the Continue button.
Step 3 Get New Nameserver Address
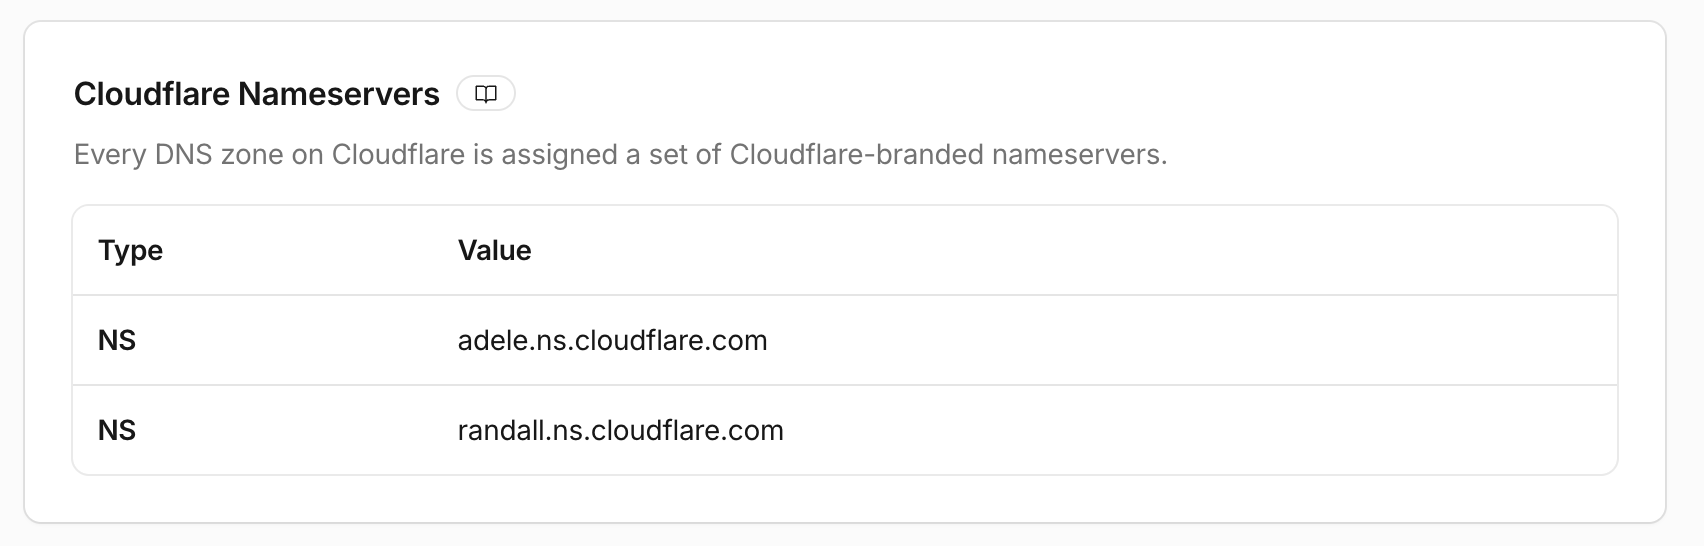
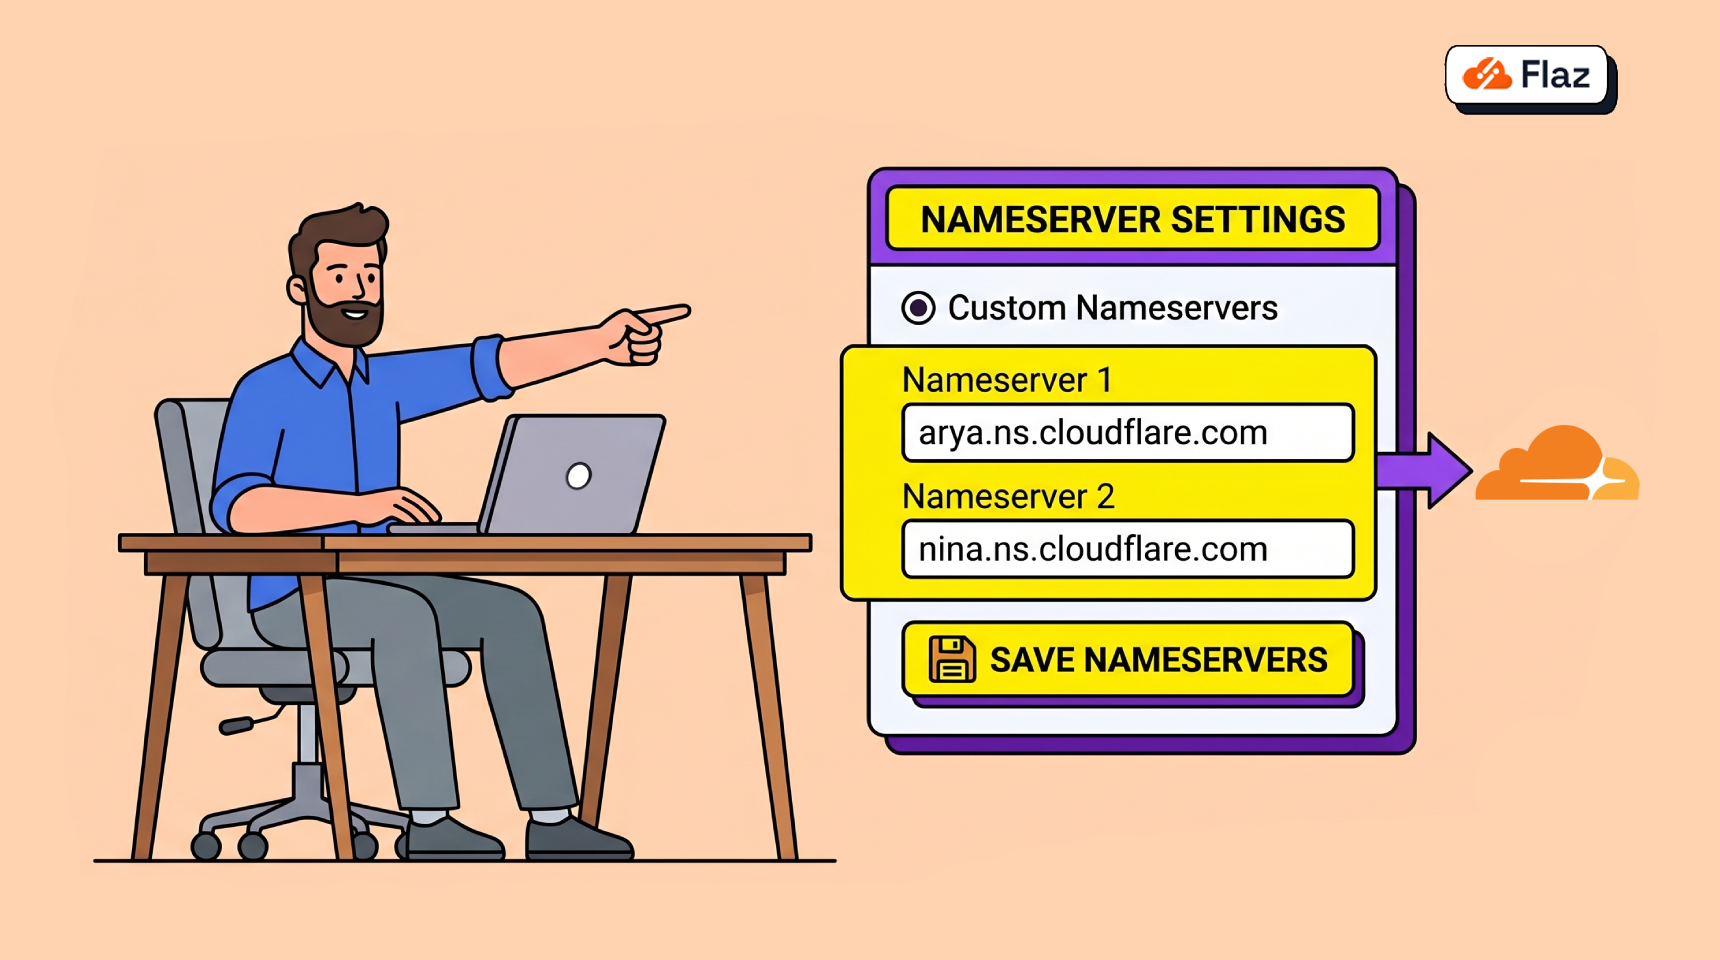
At this stage, Cloudflare will display your two old Nameserver addresses and two new Nameserver addresses belonging to Cloudflare. Usually they look like arya.ns.cloudflare.com and nina.ns.cloudflare.com, or they could also look like the screenshot above.
Please copy both new Nameserver addresses. Don't close the Cloudflare page yet because we will enter this address into the Flaz Cloud dashboard. Also make sure your account is ready by following How to Register a Flaz Cloud Account so you can access the domain settings area.
Step 4 Change Nameserver in Flaz Cloud
Now open a new tab in your browser and log in to the Flaz Cloud dashboard. Click the Domain menu on the left and select the domain name you want to connect to Cloudflare.
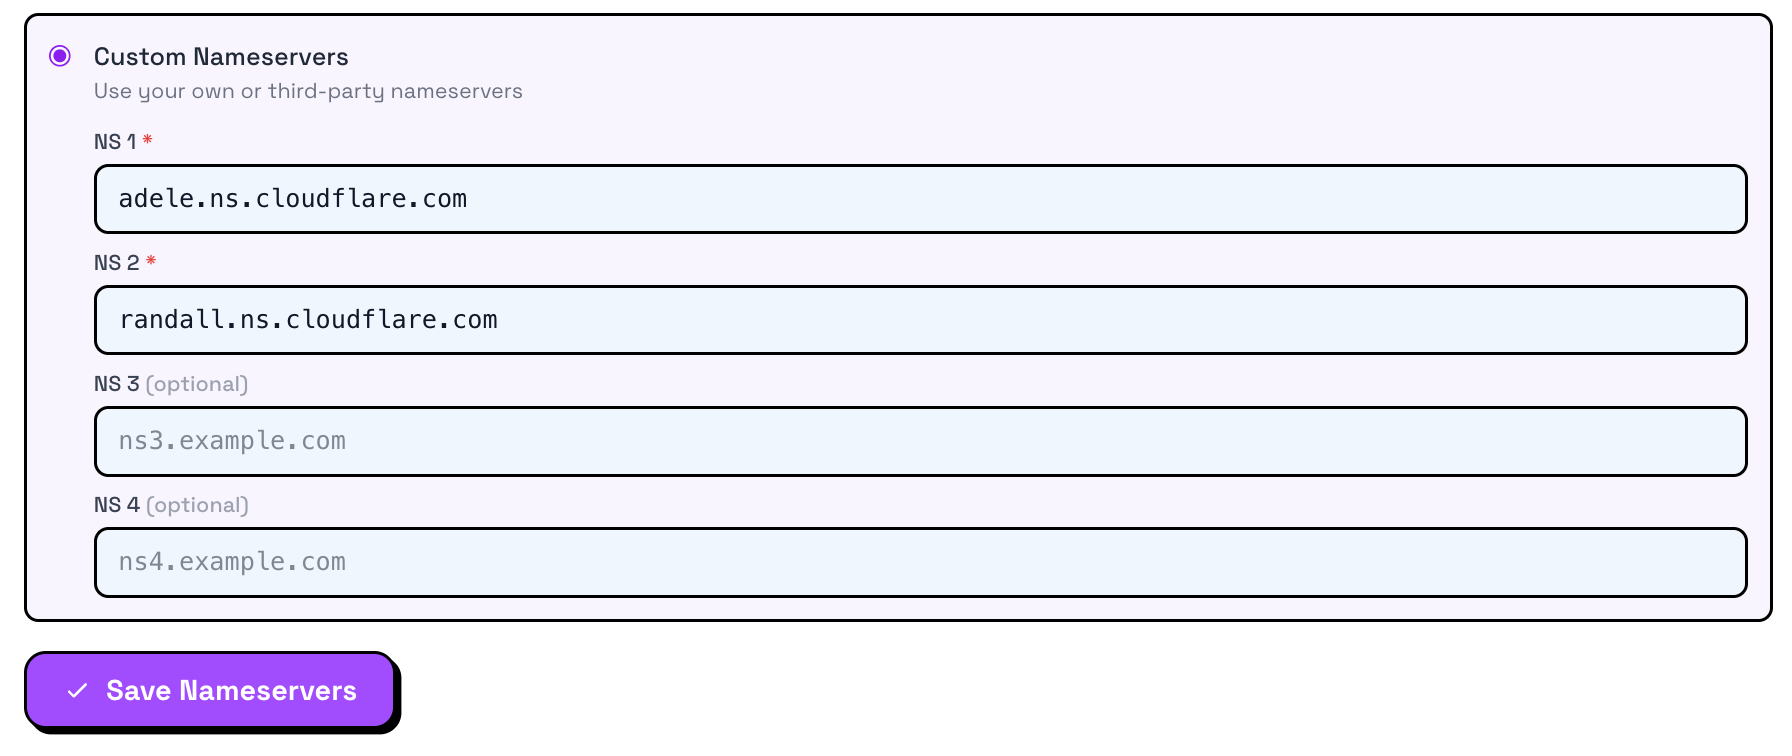
Scroll down until you find the Nameservers section. Select the Custom Nameservers option, then delete the old address and paste both Nameserver addresses from Cloudflare into the available fields. Click the Save Nameservers button to save the changes. To keep your account security notifications intact, make sure you have completed How to Verify Email for Flaz Cloud Account.
Step 5 Verify and Wait for Propagation
Go back to the Cloudflare page and click the Check Nameservers button. Cloudflare will start checking whether your domain is truly directed to their server or not.
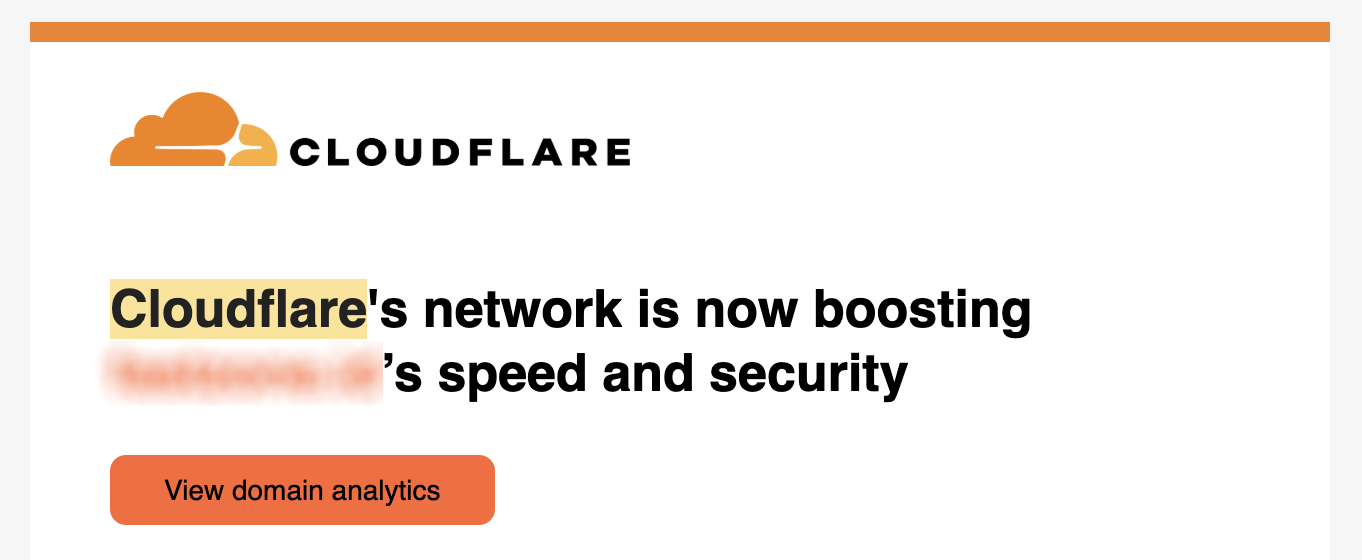
Please note that this Nameserver change requires DNS propagation time. It usually takes anywhere from a few minutes to 24 hours. During this time, Cloudflare will send you an email if the integration process is successful and your domain is now actively protected.
Important Notes
After your domain is active on Cloudflare, all DNS settings such as A Record or MX Record for email must be done through the Cloudflare dashboard, no longer through the Flaz Cloud dashboard.
If your website uses SSL, make sure the SSL setting in Cloudflare is set to Full to avoid errors when opening the website. If you encounter any issues or error messages after changing the Nameserver, please contact the Flaz Cloud support team so we can help perform further checks on your domain.
Was this article helpful?