How to Add DNS Records in Flaz Cloud
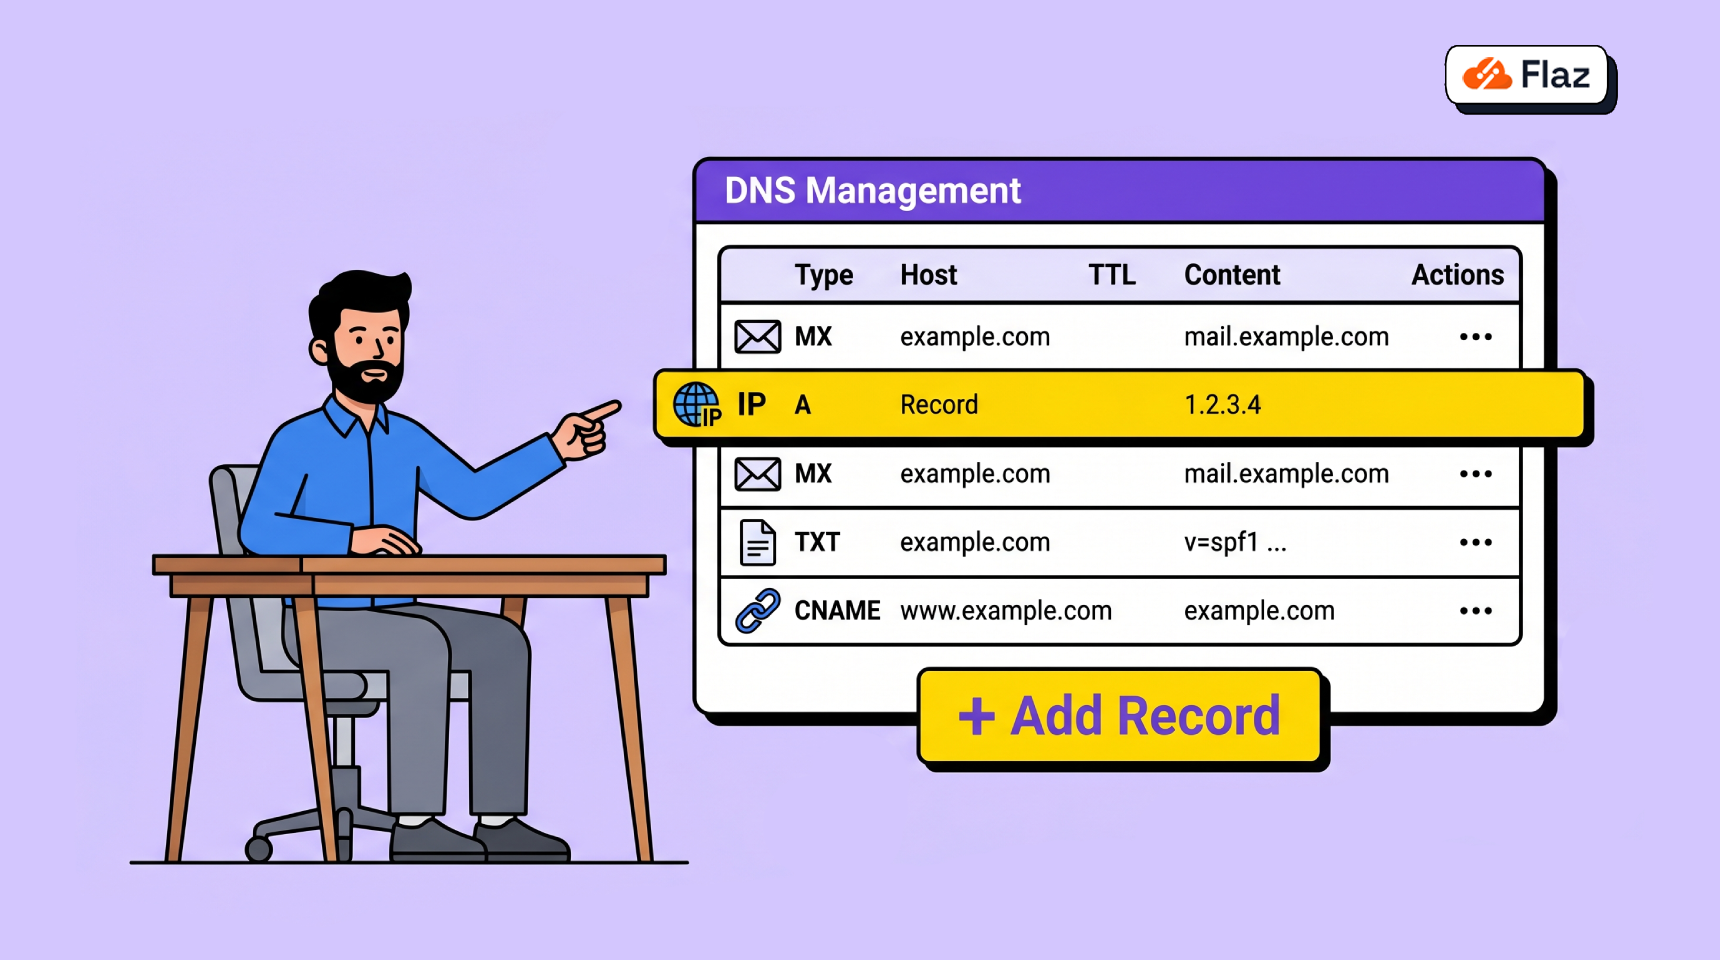
Confused about how to point your domain to a VPS or verify email? Learn how to easily add various types of DNS records directly from your Flaz Cloud dashboard.
Setting up DNS records is a very important step so that your domain can connect to a server, email service, or for third-party verification purposes. Without proper configuration, your domain won't know where to direct visitors when your website address is typed into a browser.
In Flaz Cloud, you can manage various types of records ranging from A records to point to a server IP, to TXT records for verifying services like Google Search Console. Here is an easy guide to do it directly from your dashboard.
Step 1: Access Domain Settings
First, please log in to your Flaz Cloud dashboard. If you don't have an account yet, you can follow the steps in How to Register a Flaz Cloud Account to get started.
After logging in, select the Domain menu in the left sidebar. Click on the domain name whose DNS you want to configure. If your domain is not yet active or registered, please see the guide How to Register a New Domain in Flaz Cloud so that the domain appears in your list.
Step 2: Open the Manage DNS Menu
After the domain detail page opens, scroll down your screen until you find the section labeled DNS Records. Inside that box, there is a blue button labeled Manage DNS.
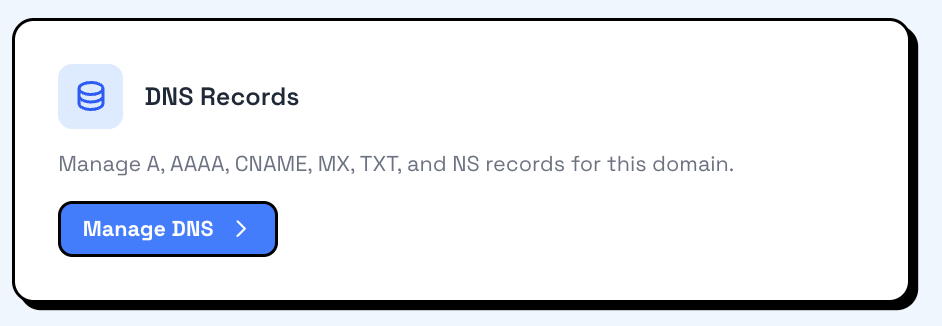
Click that button to open the complete record management page. On this page, you can add, modify, or delete various DNS records you need.
Also make sure your email is active by checking How to Verify Your Flaz Cloud Account Email so that every domain data change is safely monitored.
Step 3: Understanding Record Types
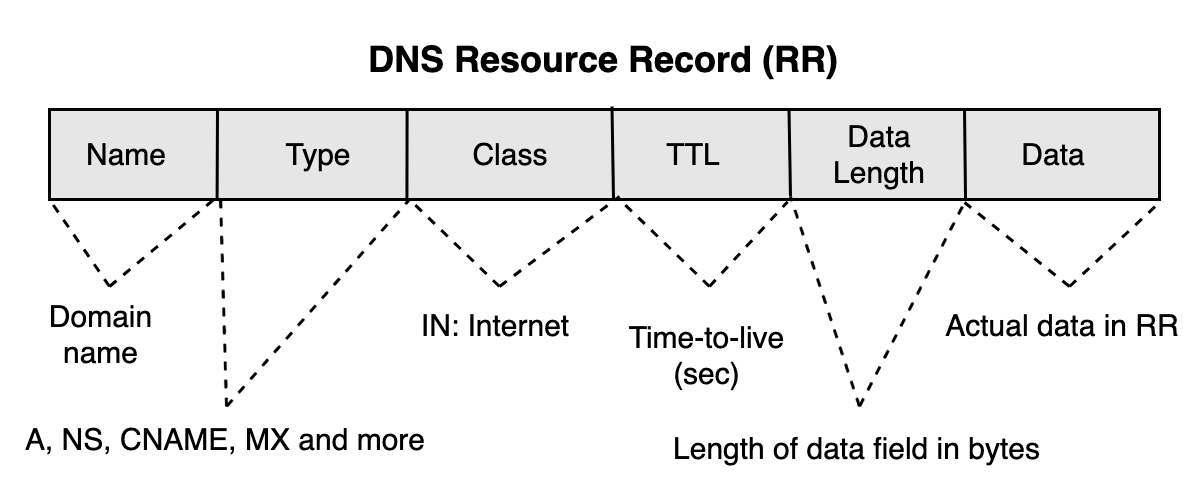
Before you add data, it's a good idea to understand the function of each available option to avoid misdirection:
-
A Record: Used to point a domain or subdomain to a server IP address (IPv4). This is the most commonly used if you have a VPS.
-
AAAA Record: Similar to an A record, but used for IP version 6 addresses (IPv6).
-
CNAME: Used to create an alias or point one hostname to another hostname.
-
MX Record: Very important for email purposes. This record tells the world which server handles email delivery for your domain.
-
TXT Record: Usually used to store text information, such as for verifying domain ownership or email security settings (SPF/DKIM).
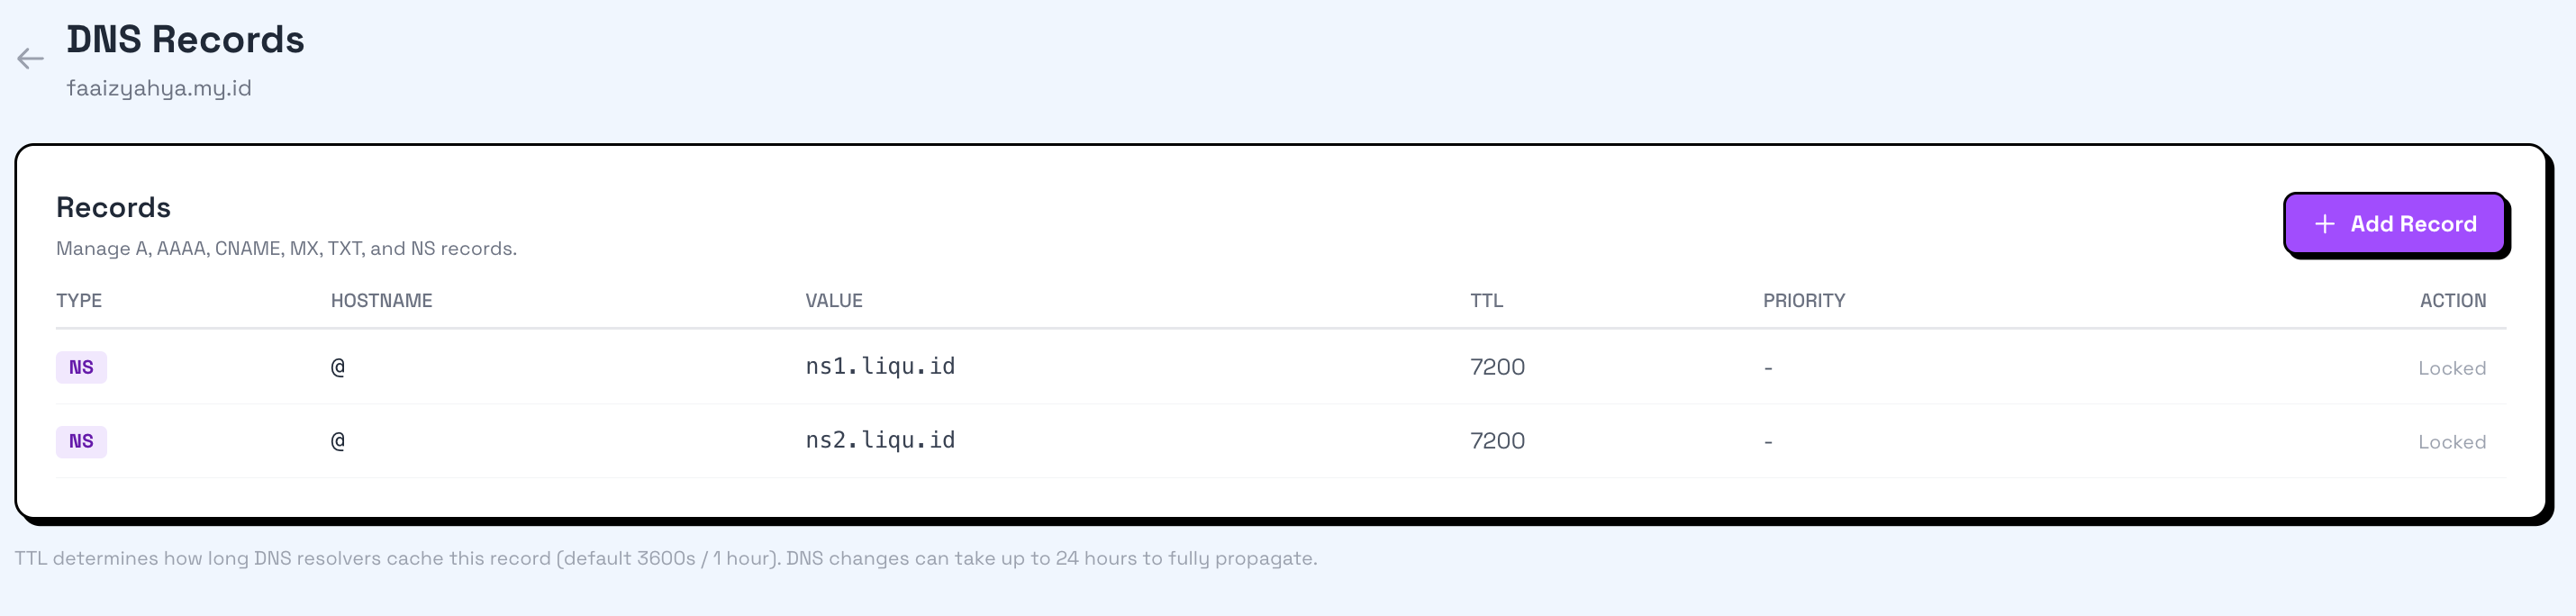
Step 4: Adding a New Record

Click the Add Record button on that page. A short form will appear that you need to fill in:
-
Name: Fill in your subdomain name. If you want to point the main domain, just type the @ symbol or leave it blank (depending on the instructions on screen).
-
Type: Select the type of record you need (A, CNAME, TXT, etc.).
-
Content / Value: Enter the IP address or record value provided by your service provider.
-
TTL: You can leave it at the standard number (usually 3600) or let it follow the system settings.
After everything is filled in, click the save button. If you are pointing your domain to a VPS and want to access it immediately, you can see How to Login to VPS via SSH for the next steps.
Important Notes About Propagation
You should know that every DNS change is not always active immediately. There is a waiting period called DNS propagation, where the internet network around the world needs to recognize the changes you just made.
This process usually takes anywhere from a few minutes to a maximum of 24 hours. If after configuration your domain still won't open, try waiting a bit or clear the cache in your browser.
If you feel confused when filling in the Content field or feel that the record you entered is not activating, please contact the Flaz Cloud support team so we can help perform further checks on your DNS settings.
Was this article helpful?