How to Enable LiteSpeed Cache for WordPress
Want your WordPress website to load lightning-fast? Learn how to easily install and configure LiteSpeed Cache on Flaz Cloud hosting to keep your visitors engaged on your website.
Having a fast website is no longer an option, but a necessity to keep visitors engaged reading your content. At Flaz Cloud, we use LiteSpeed server technology that is known for being very responsive in serving data requests.
However, server speed alone is not enough. You need to install a special plugin in your WordPress to get maximum results. Let's discuss how to easily activate this great feature so your website can load pages lightning-fast.
1. Install LiteSpeed Cache Plugin
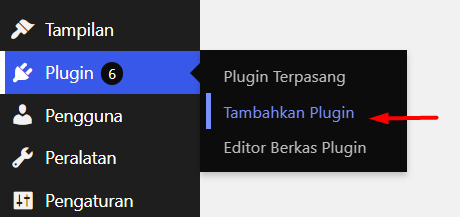
First, please log in to your WordPress admin page (usually at yourdomain.com/wp-admin). Find the Plugins menu on the left side and click Add New.
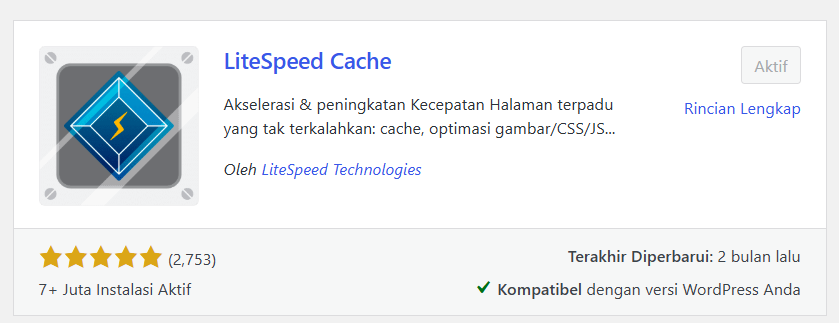
In the search box, type LiteSpeed Cache. You will find the plugin with a lightning bolt icon developed by LiteSpeed Technologies. Click the Install Now button and don't forget to click Activate. If you don't have hosting to try this yet, please follow the How to Register a Flaz Cloud Account guide so you can soon have your own WordPress website.
2. Connect to Flaz Cloud Server

After the plugin is activated, you will see a new menu called LiteSpeed Cache in the left sidebar. Click that menu and select the General section.
The first step we highly recommend is requesting a unique key (Domain Key). Click the button labeled Request Domain Key. Wait a few minutes until the key appears automatically. This feature is very useful so your website can connect with LiteSpeed's image optimization and data services from the center for free. Also make sure your email is correct by checking How to Verify Your Flaz Cloud Account Email to receive notifications if there are system updates.
3. Enable Basic Settings

Now go to the Cache menu in the LiteSpeed settings. Make sure the Enable Cache option is set to ON. This is the most important setting that will save a copy of your website pages so when others open them, the server doesn't have to work hard processing the data from scratch.
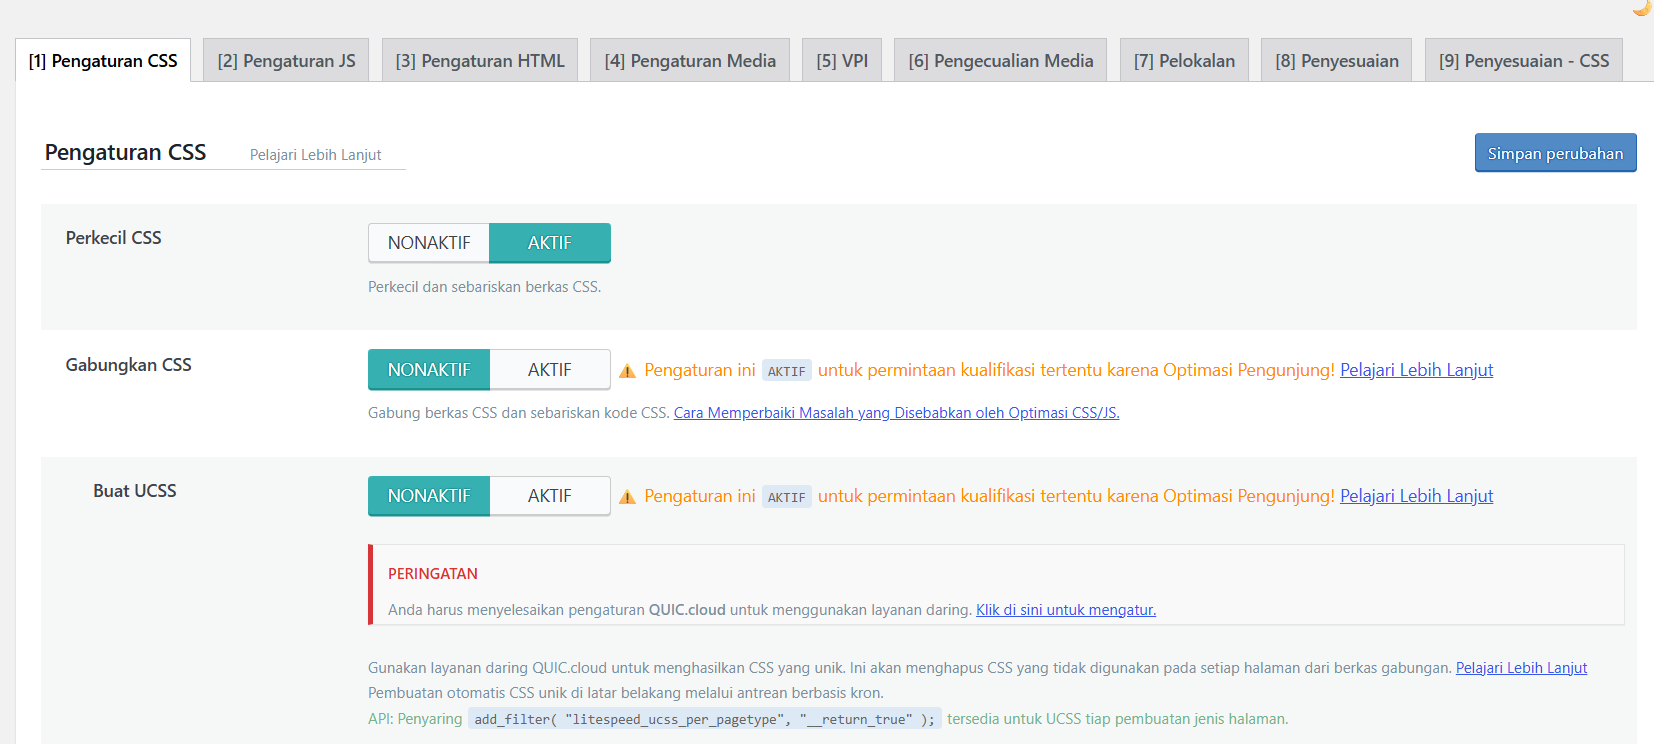
We also recommend you go to the Page Optimization menu. In the CSS Settings and JS Settings sections, you can enable the Minify and Combine options. This feature will reduce the file size of your website so the page loading process becomes much lighter for visitors.
4. Check Speed Results
After you've saved all the settings, now it's time to see the results. Try opening your website in an incognito tab. You should notice a difference where the page feels faster to load compared to before.
If you want to see more accurate technical data, you can use tools like Google PageSpeed Insights or GTmetrix. Enter your website address and see how your website's speed score increases after this feature is activated. If you forget how to log in to your hosting to check server settings, please see How to Log in to cPanel Flaz Cloud.
Important Notes When Using Cache
Sometimes after you change text or images on your website, those changes don't immediately appear to visitors because they are stored in cache memory. If this happens, you don't need to worry.
Just find the lightning bolt icon in the top bar of your WordPress admin, then select Purge All. This command will delete all old copies and replace them with your website's latest data. Our team is always ready to assist you if you encounter any issues while trying to speed up your beloved website.
Was this article helpful?