How to Migrate Your Website to Flaz Cloud
Want to switch hosting but worried it's complicated? Learn how to easily migrate your website to Flaz Cloud with help from our expert team to keep your data safe and smooth during the move.
Moving hosting is often a headache for many people because they fear their website data will be lost or corrupted during the process. We fully understand your concerns, which is why the Flaz Cloud team is always ready to help your website migration run smoothly without any issues.
This migration process is actually very simple if you have prepared all your data completely. You don't need to do it yourself if you're unsure, because our support team can do it for you for free through our ticket support system.
1. Prepare Your Website Backup Files
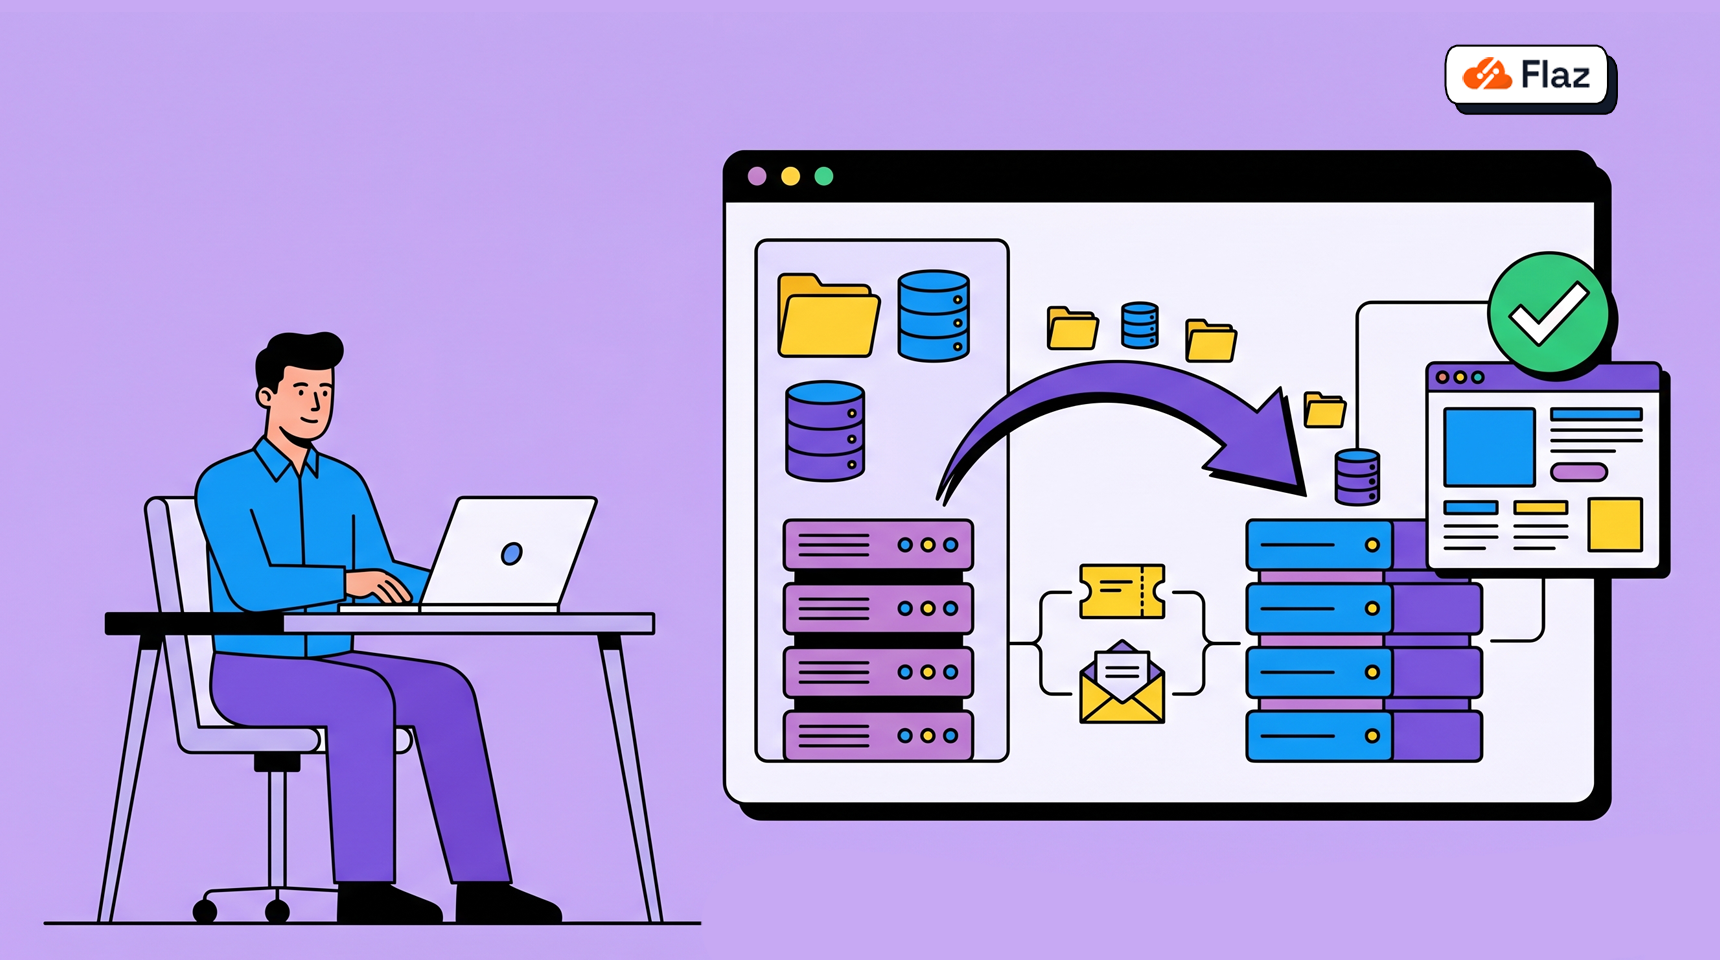
Before starting the migration process, the first thing you need to do is collect all data from your old hosting. There are two main parts you must have so your website can run normally again on our server.
First is the website files which are usually located in the public_html folder. Please log in to File Manager on your old hosting and compress all the contents of that folder into a single .zip file. This process will be easier if you already understand the steps explained in the guide How to Backup Full Website & Database from cPanel, so all your website data can be safely stored before the migration process is performed.
Second is your website database. Please log in to the phpMyAdmin menu on your old hosting and use the Export feature to get a .sql format file. This database file contains all your website content, from articles, pages, settings, to user data that will be restored after the migration process is complete.
If you just joined and don't have an account with us yet, please follow the guide How to Register a Flaz Cloud Account so we can immediately prepare a place for your data.
2. Submit a Migration Support Ticket
After you have your backup files, the easiest step is to ask for help from our technical team. We will help reinstall your files and database into the new hosting system.
Please log in to the Flaz Cloud dashboard and create a new support ticket. For a complete guide on how to do this, you can read the article How to Contact Flaz Cloud Support Ticket so your message is quickly answered by our team. Also make sure you have completed How to Verify Your Flaz Cloud Account Email so you don't miss notifications from our migration team.
3. Provide Required Information
When submitting a support ticket, provide as much information as possible so we can start the data migration process right away. Here are some things you can include in your ticket message:
-
The domain name to be migrated.
-
Download link for your website backup and database files. If the file is too large, you can upload it to Google Drive and provide us with the access link.
-
If you want us to retrieve the data directly, you can safely provide login details to your old hosting.
Our team will verify the data and start the migration as quickly as possible. We will notify you when the process is complete through a reply to your ticket.
4. Point Your Domain to Flaz Cloud
After we notify you that the data has been successfully migrated, the final step you need to do is point your domain to the Flaz Cloud server. You need to change the Nameserver or A Record settings on your domain to point to the new hosting IP address.
After the domain settings are changed, your website may not appear immediately because it takes time for propagation, which is usually a few hours. If you feel confused at this stage, don't hesitate to ask again in the same support ticket. We will accompany you until your website can be accessed smoothly on our server.
Was this article helpful?