
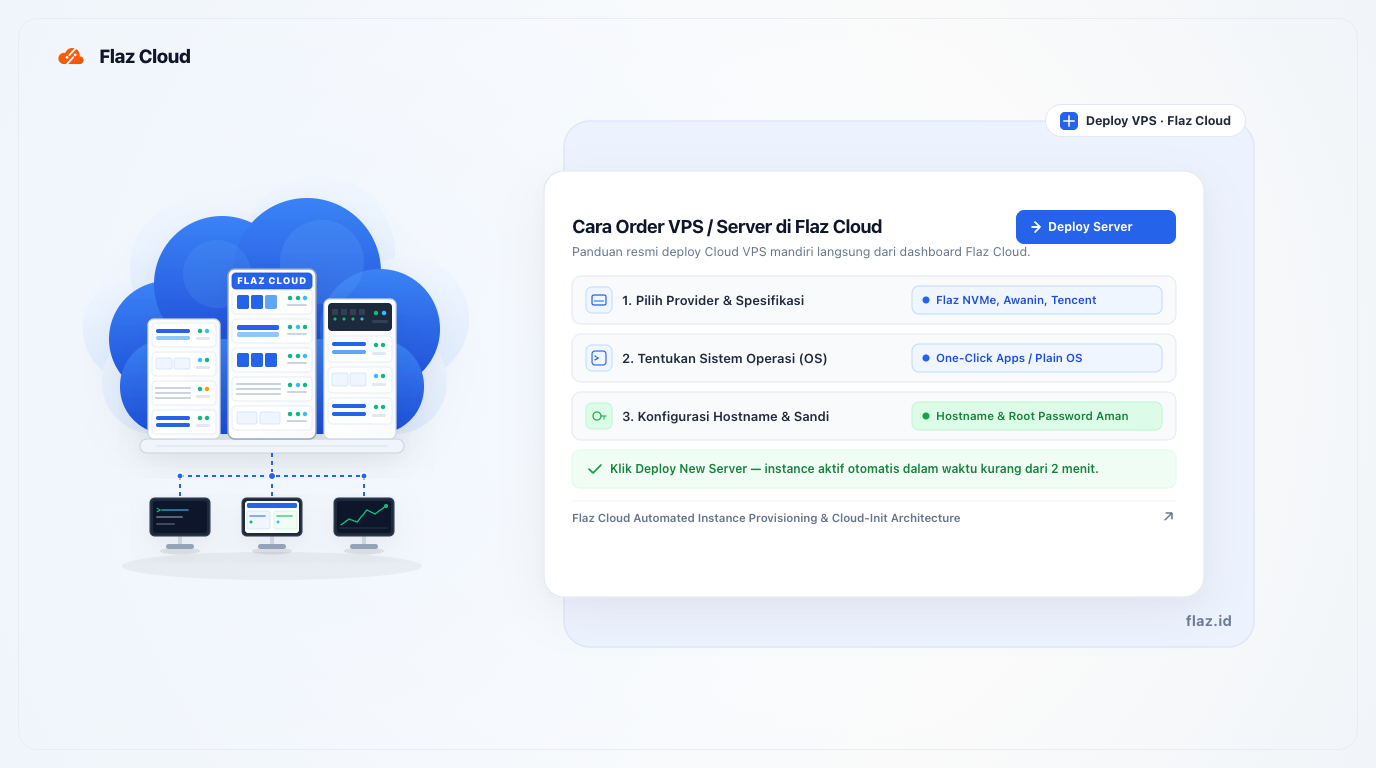
Complete guide on ordering and deploying a VPS server on Flaz Cloud in 4 easy steps from the client dashboard, ready in under 2 minutes.
Setting up your own cloud server is an important step forward for your website or application project. At Flaz Cloud, the server ordering process is designed to be straightforward and fast.
You only need to complete a few simple steps, and your server will be deployed and ready within minutes. This guide walks you through the entire process from choosing a plan to having your server active and ready to use.
Server Deployment Guide from the Dashboard
Once you have selected the right plan for your workload, you can deploy your server directly from the client area. Log in to your account, navigate to Main Menu > Server, and click the Deploy New Server button.
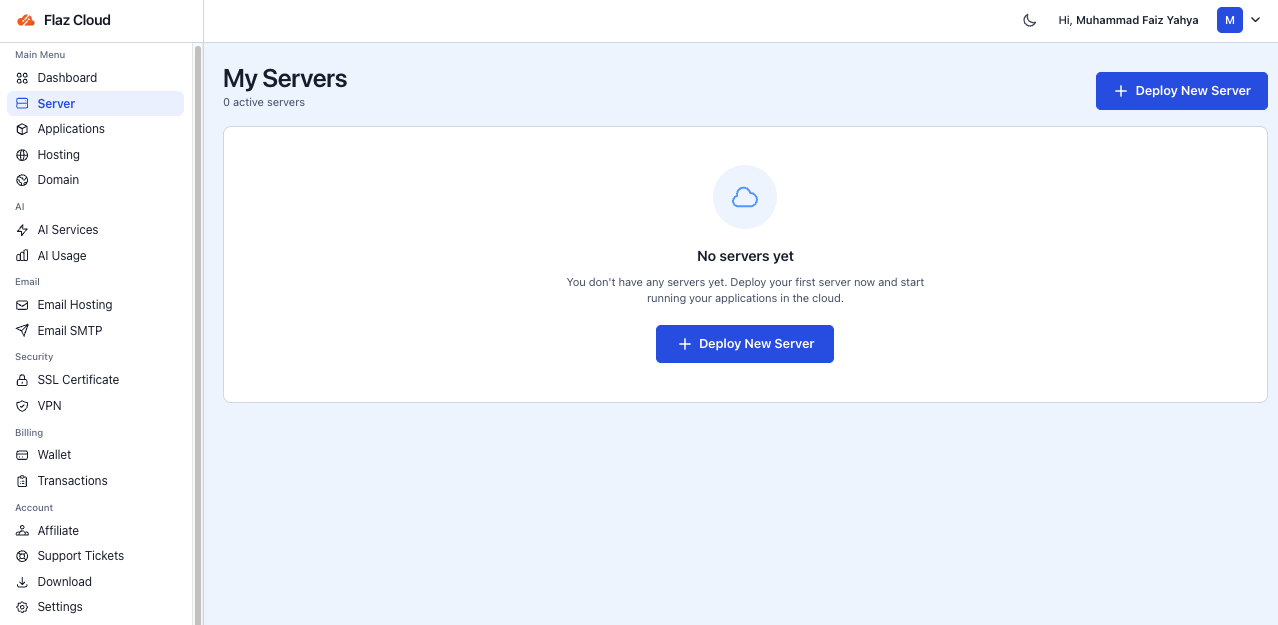
Follow these 4 configuration steps:
Step 1: Choose Plan

Select one of the three available infrastructure providers:
- Flaz Cloud: Our primary fleet featuring high-performance NVMe storage for Indonesia and Singapore locations.
- Awanin Cloud: Our local Indonesian infrastructure partner powered by Intel Xeon Scalable processors at IDC 3D Jakarta.
- Tencent Cloud: Economical Lighthouse instances for Indonesia and Singapore locations.
Step 2: Choose Server
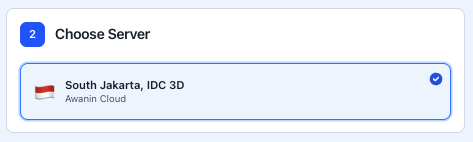
Select the hardware tier with the CPU, RAM, and SSD storage allocation that meets your requirements based on the displayed pricing matrix.
Step 3: Operating System
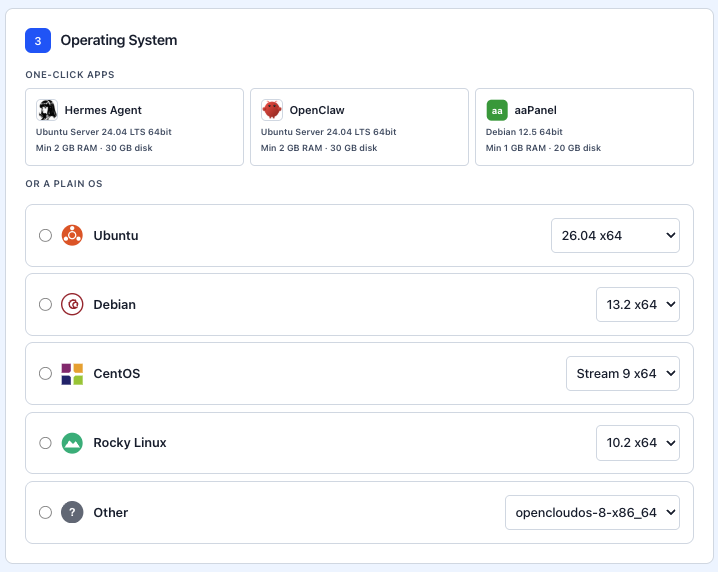
Choose the operating system or software image you want to deploy:
- One-Click Apps: Pre-configured application stacks installed automatically, such as Hermes Agent (Ubuntu 24.04), OpenClaw (Ubuntu 24.04), or aaPanel (Debian 12.5).
- Plain OS: Clean, unconfigured operating system distributions, including Ubuntu (24.04 / 22.04 LTS), Debian, CentOS Stream, Rocky Linux, or custom images such as OpenCloudOS.
Step 4: Configuration
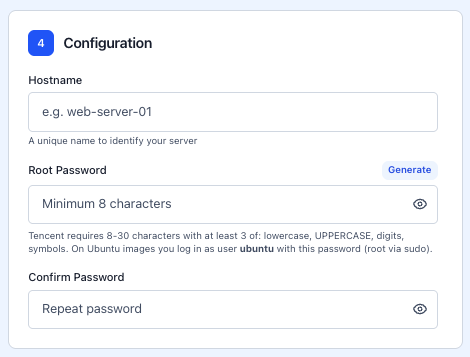
Complete the technical details for your server:
- Hostname: Enter a unique name to identify your server (for example:
server1.yourdomain.com). - Root Password: Set your administrative root password. Click Generate or create your own password between 8 and 30 characters combining lowercase letters, UPPERCASE letters, numbers, and symbols.
- Confirm Password: Re-enter the exact same password for verification.
Finalizing Your Order
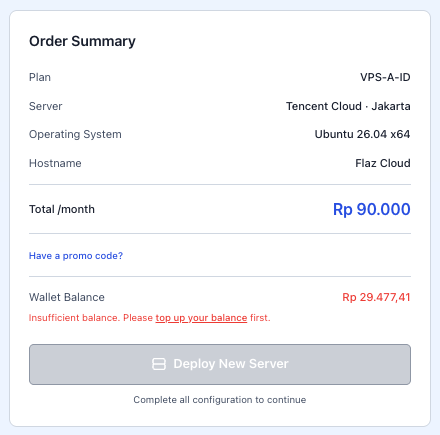
Review your server details in the Order Summary box:
- Enter your discount voucher in the Have a promo code? field if available.
- Check your current funds in the Wallet Balance field. If your balance is insufficient, top up your account first via Top Up Wallet.
- Click the Deploy New Server button.
A green confirmation notice will appear indicating that your server is being provisioned. The page will update automatically, and the deployment process typically completes in under 2 minutes until the server status shows as active.
Was this article helpful?