How to Top Up Flaz Cloud Wallet Balance
Confused about how to add balance to Flaz Cloud? Follow this complete guide to top up your wallet from selecting the amount to paying via QRIS or Virtual Account with automatic processing.
Here is a complete guide to adding balance or topping up your wallet at Flaz Cloud so you can manage your server more smoothly.
Adding wallet balance will make it easier for you when you want to purchase a VPS or renew services without having to pay multiple times manually. This balance will later be automatically deducted when an invoice appears so your service remains active without any issues.
1. Access the Topup Wallet Menu
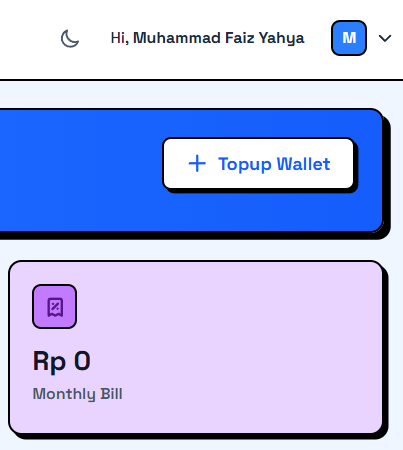
First, please log in to your Flaz Cloud account. After entering the main page or dashboard, look at the top right corner.
You will find a button labeled Topup Wallet which is located right above your current balance display. Click this button to open the balance top-up window.
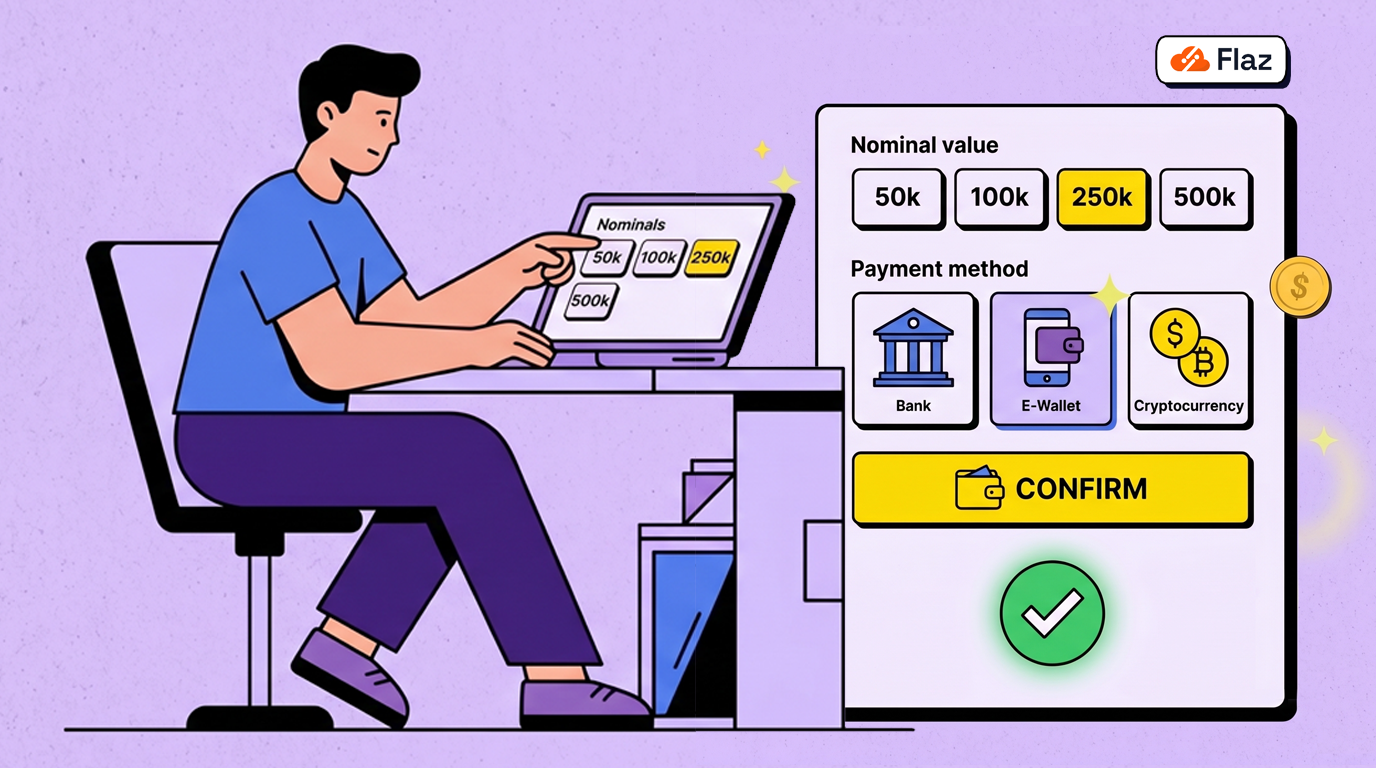
2. Select Balance Amount
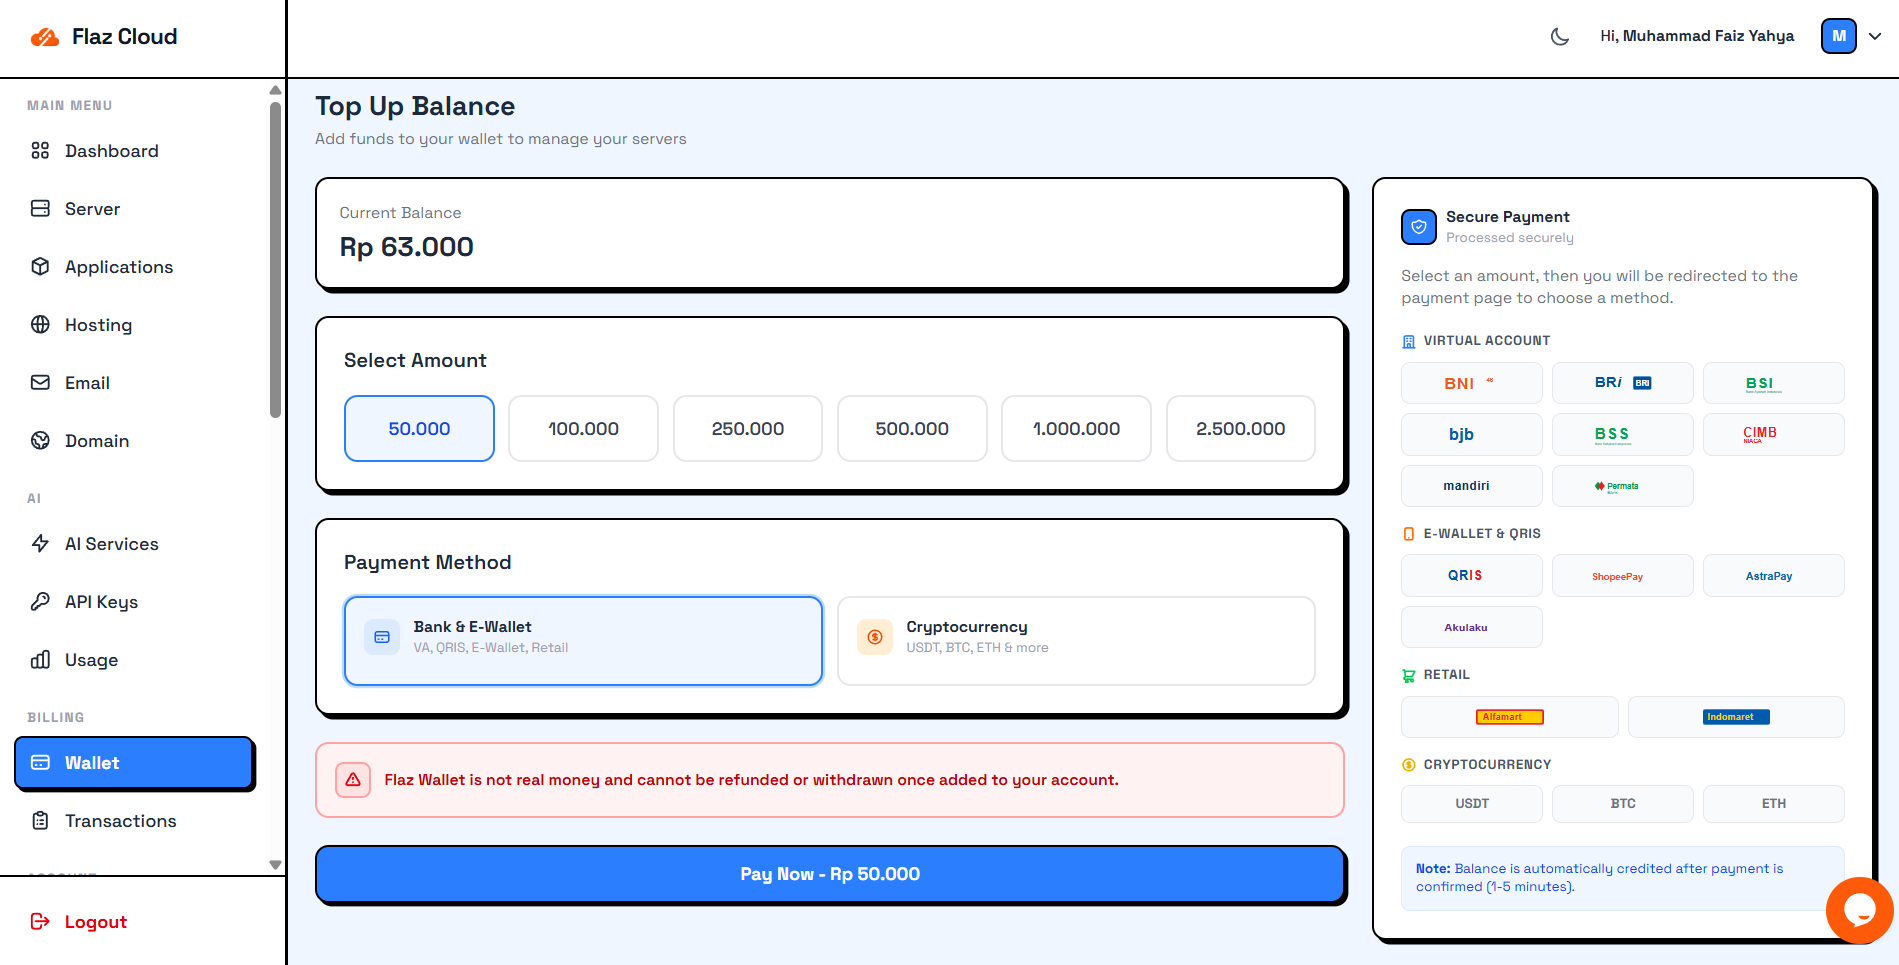
After the Top Up Balance window opens, you will see your current balance information. Below it are several amount options you can choose from ranging from Rp 50,000 to Rp 2,500,000. Click on one of the amounts you want. Please note that this Flaz Wallet balance cannot be withdrawn or cashed out after you add it to your account.
Before proceeding, make sure your account is ready to use. If you are a new user, you can follow the How to Register a Flaz Cloud Account guide for a smoother process.
3. Choose Payment Method
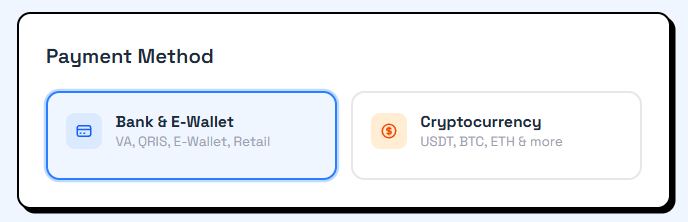
Flaz Cloud provides many payment options so you don't have to worry. You can choose from the following main categories.
-
Bank & E-Wallet for payments via Virtual Account, QRIS, or retail outlets.
-
Cryptocurrency if you prefer to use USDT, BTC, or ETH.
If you choose Bank & E-Wallet, you can pay via Mandiri, BNI, BRI, or through digital wallets like ShopeePay and AstraPay. You can even pay at the nearest Alfamart or Indomaret.
4. Complete Payment on Xendit Page
After selecting the amount and method, click the Pay Now button. You will be immediately directed to a secure payment page managed by Xendit.
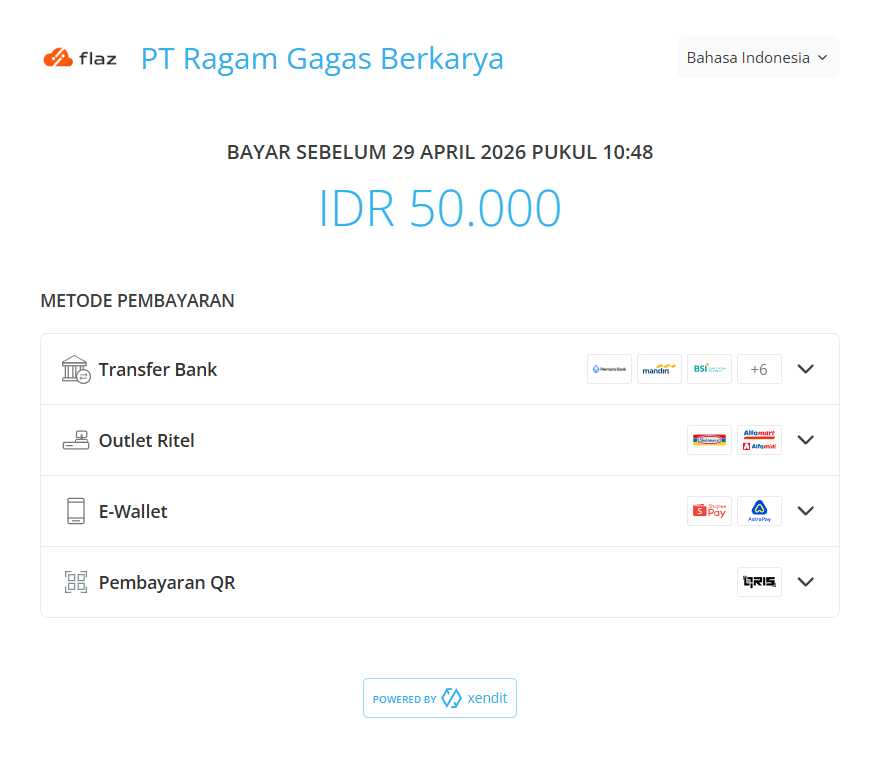
On this page you will see the payment deadline and details of the total price you need to pay. If you choose QRIS, simply scan the QR code that appears using your bank or e-wallet app. If you choose Virtual Account, please copy the account number that appears and make a transfer from your mobile banking or ATM.
5. Balance Enters Automatically
One great thing is that you don't need to send proof of transfer to support admin. The system will check your payment automatically. Usually the balance will enter your account within 1 to 5 minutes after payment is confirmed.
If the balance hasn't appeared after 10 minutes, don't hesitate to contact our support team. Also make sure your email is correct so payment notifications can reach your inbox. To ensure everything is secure, you can follow the How to Verify Flaz Cloud Account Email guide so the notification process runs smoothly without any issues.
Was this article helpful?