 Flaz
FlazHow to Upload Website via FileZilla
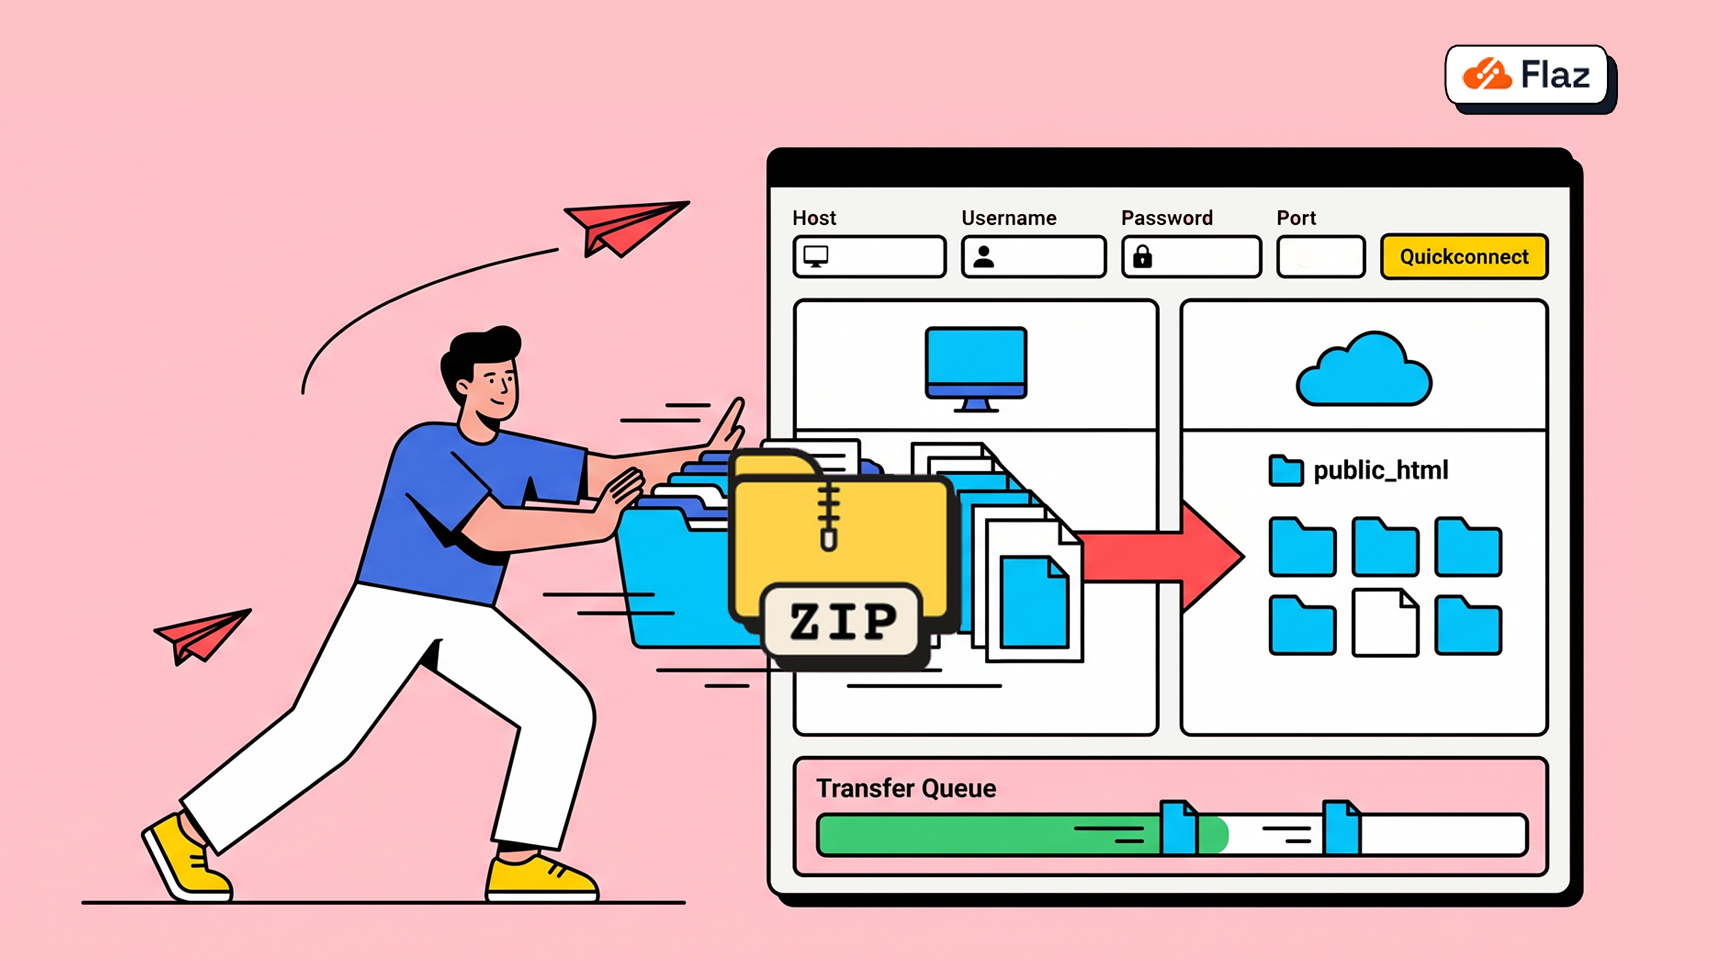
Want to send many website files at once without hassle through your browser? Learn the easy way to upload your website via FileZilla to your Flaz Cloud hosting or VPS.
Sending website files in large quantities or sizes will feel much lighter if you use a specialized application. One of the most popular applications is FileZilla because of its easy-to-understand interface and very stable data transfer process.

This method is perfect for you who want to upload thousands of image files or website scripts at once without having to go through a browser. By following the steps below, you can manage files on your server just like moving files on your own computer.
Prepare Your Access Data
Before you start, you need to have login data consisting of an IP address or hostname, username, password, and port number. If you are using regular hosting service, you can find this data in the welcome email. However, if you are using a VPS, you can use the root access data you have.
Make sure your account is ready to use by following How to Register a Flaz Cloud Account so you can get your login data right away. Also don't forget to do How to Verify Your Flaz Cloud Account Email so that account information delivery is not held up.
Filling in Data in FileZilla
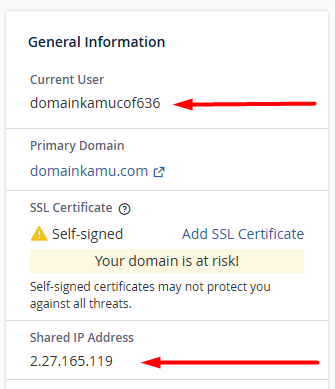
Please open the FileZilla application that is already installed on your computer. At the top of the screen, you will see four empty boxes that need to be filled.
-
In the Host field, enter your server IP address or your domain name.
-
In the Username field, enter your hosting account username or type root if you are using a VPS.
-
In the Password field, enter your password correctly.
-
In the Port field, enter 21 if you are using regular FTP for hosting. If you are using a VPS, enter 22 which is a more secure SFTP connection.
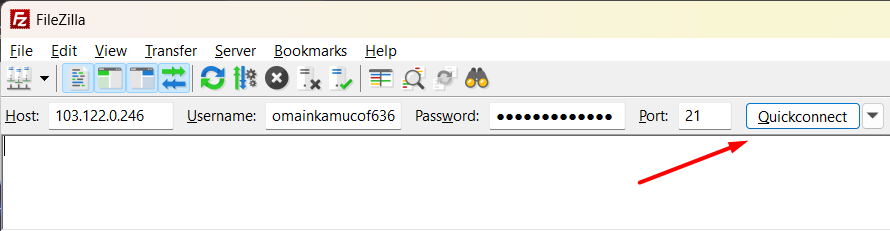
After everything is filled in, click the Quickconnect button and wait until a list of folders appears in the box on the right. If a security certificate warning appears, please check the option to always trust that host and then click OK.
Start Sending Website Files
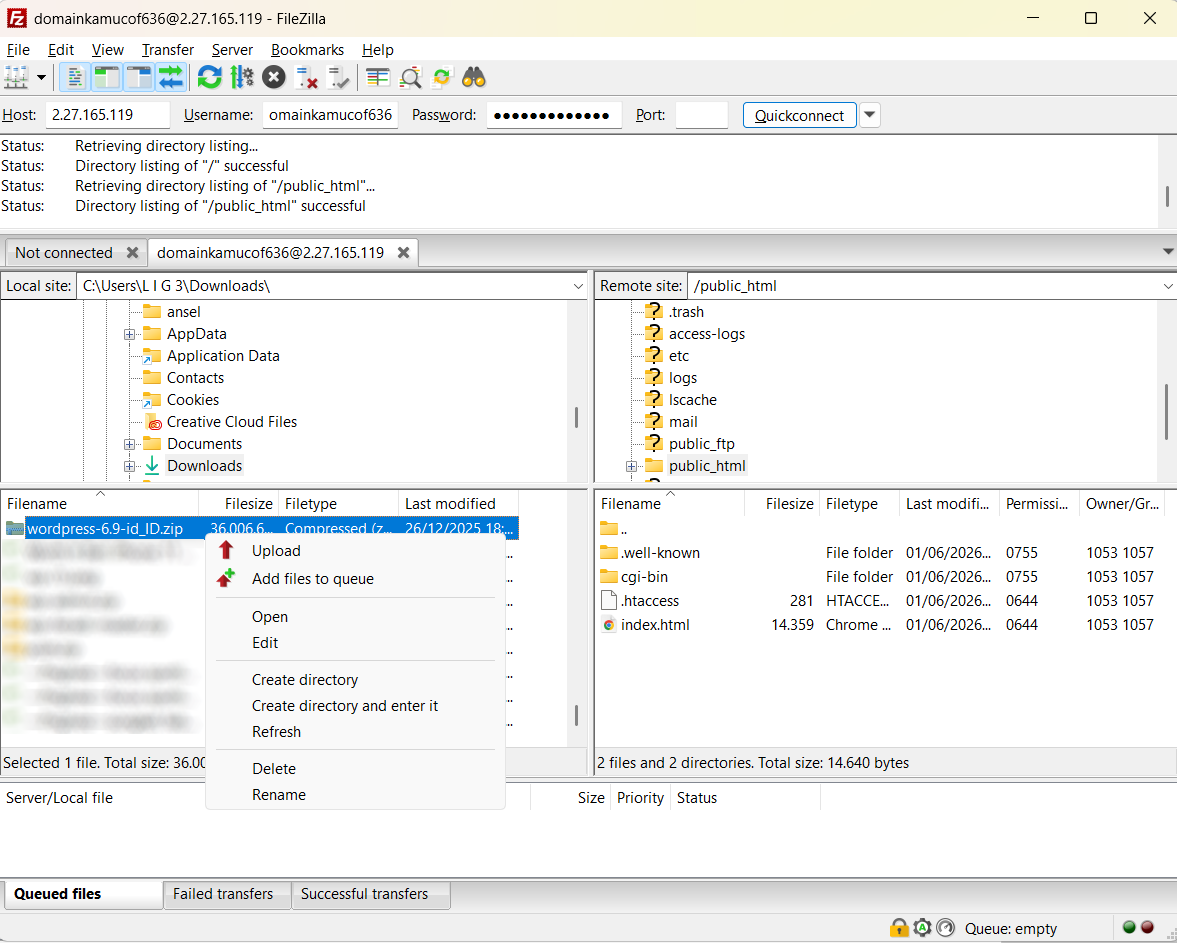
The FileZilla display is divided into two main sections. The box on the left shows files on your computer, while the box on the right shows files on your Flaz Cloud server.
To start uploading, please find your website folder in the box on the left. After that, in the box on the right, go into the folder named public_html. Select the file or folder you want to send, then right-click and select Upload. You can also directly drag files from left to right using your mouse.
Things You Need to Pay Attention To
File transfer often fails because of overly strict firewall or security settings on your computer. If this happens, you can try changing the transfer option to Passive mode through the settings menu in FileZilla.
Another important note is never disconnect your internet while the upload process is still running as it can cause files to become corrupted. You can see the transfer status at the bottom of the screen to ensure no files fail to transfer. Once complete, you can directly check the results by opening your domain address in your browser.
If you feel this process is still too complicated, our support team is always ready to accompany you to provide additional guidance. Using this application will be very helpful for your work in the long run, especially when your website starts to have a lot of data.
Was this article helpful?