 Flaz
FlazHow to Setup Child Nameserver on Flaz Cloud
Want to have a nameserver with your own domain name? Learn how to easily setup Child Nameserver on Flaz Cloud to make your service branding look more professional.
Having your own nameserver with a personal domain name, such as ns1.yourdomain.com and ns2.yourdomain.com, will make your service look more professional. This feature is usually called Child Nameserver or Glue Records which functions to register certain host names as official nameservers on the internet.
This configuration is very useful if you manage your own VPS or want to run a reseller hosting service with your own brand. On Flaz Cloud, you can set this up directly through the domain dashboard without having to go through a complicated process.
Step 1 Access Domain Settings
First, please log in to the Flaz Cloud dashboard. In the menu on the left side, click the Domain section and then select the domain name for which you want to create a private nameserver.
Make sure your domain status is currently active so that all configuration menus can open perfectly. If you are using our service for the first time, please follow the How to Register a Flaz Cloud Account guide to get started. Don't forget to ensure your email is active by checking How to Verify Your Flaz Cloud Account Email so that system notifications remain monitored.
Step 2 Open Child Nameservers Menu
After entering the domain detail page, scroll down your screen until you find a box labeled Child Nameservers. Inside that box there is a button labeled Manage Child NS.
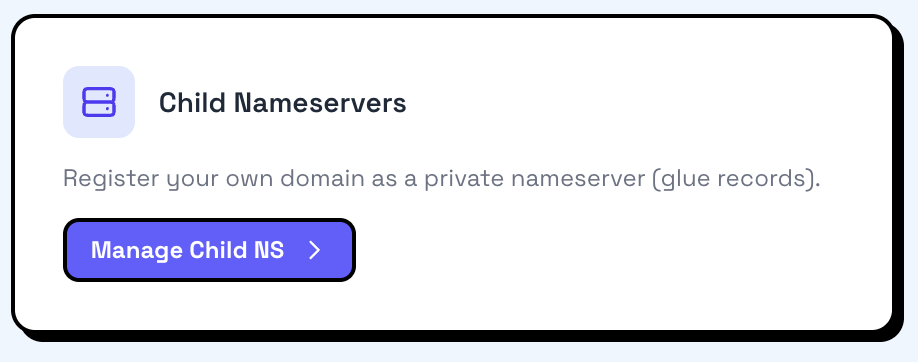
Please click that button to open the special configuration window. This is where you will register the host name and connect it with your server's IP address. You can also see the article How to Register a New Domain on Flaz Cloud if you want to try it on a new domain.
Step 3 Register Host and IP Address
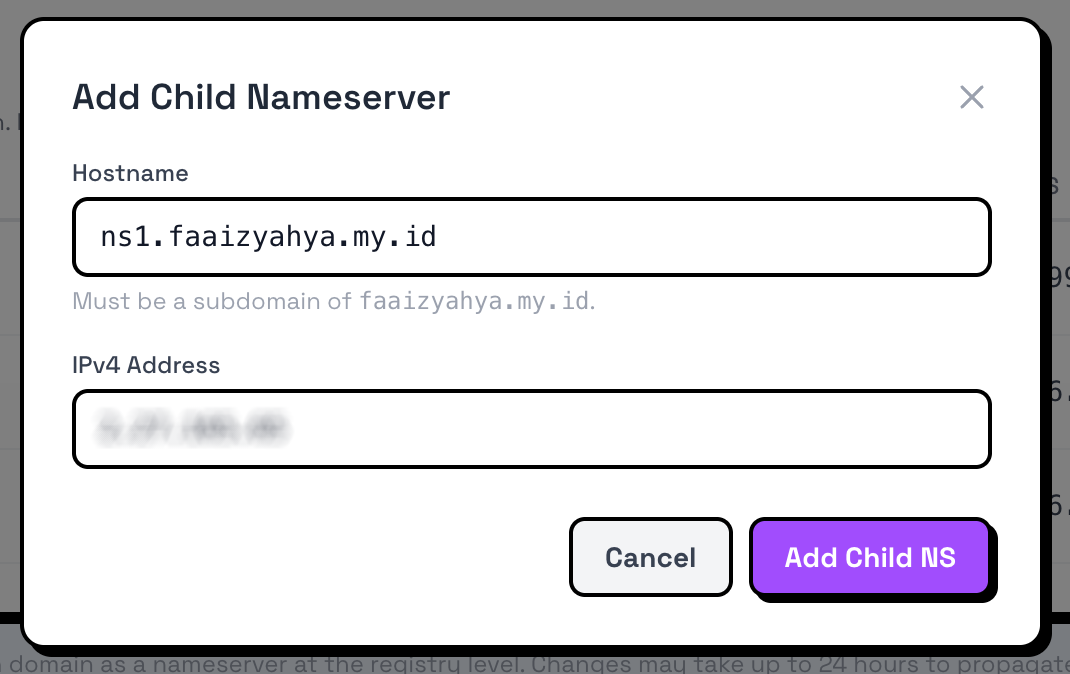
Now you need to enter the nameserver data you want to create. Generally we need at least two nameservers.
-
In the Hostname field, type ns1.yourdomain.com.
-
In the IP Address field, enter your VPS or server IP address.
-
Click the save or add button.
-
Repeat the same steps to create ns2 with the same IP address or backup server IP if available.
Make sure the IP address you enter is correct because if you make a typo, all websites using this nameserver will not be accessible.
Step 4 Point Domain to New Nameserver
After successfully creating the Child Nameserver, the final step is to go back to the domain detail page and find the Nameservers section.
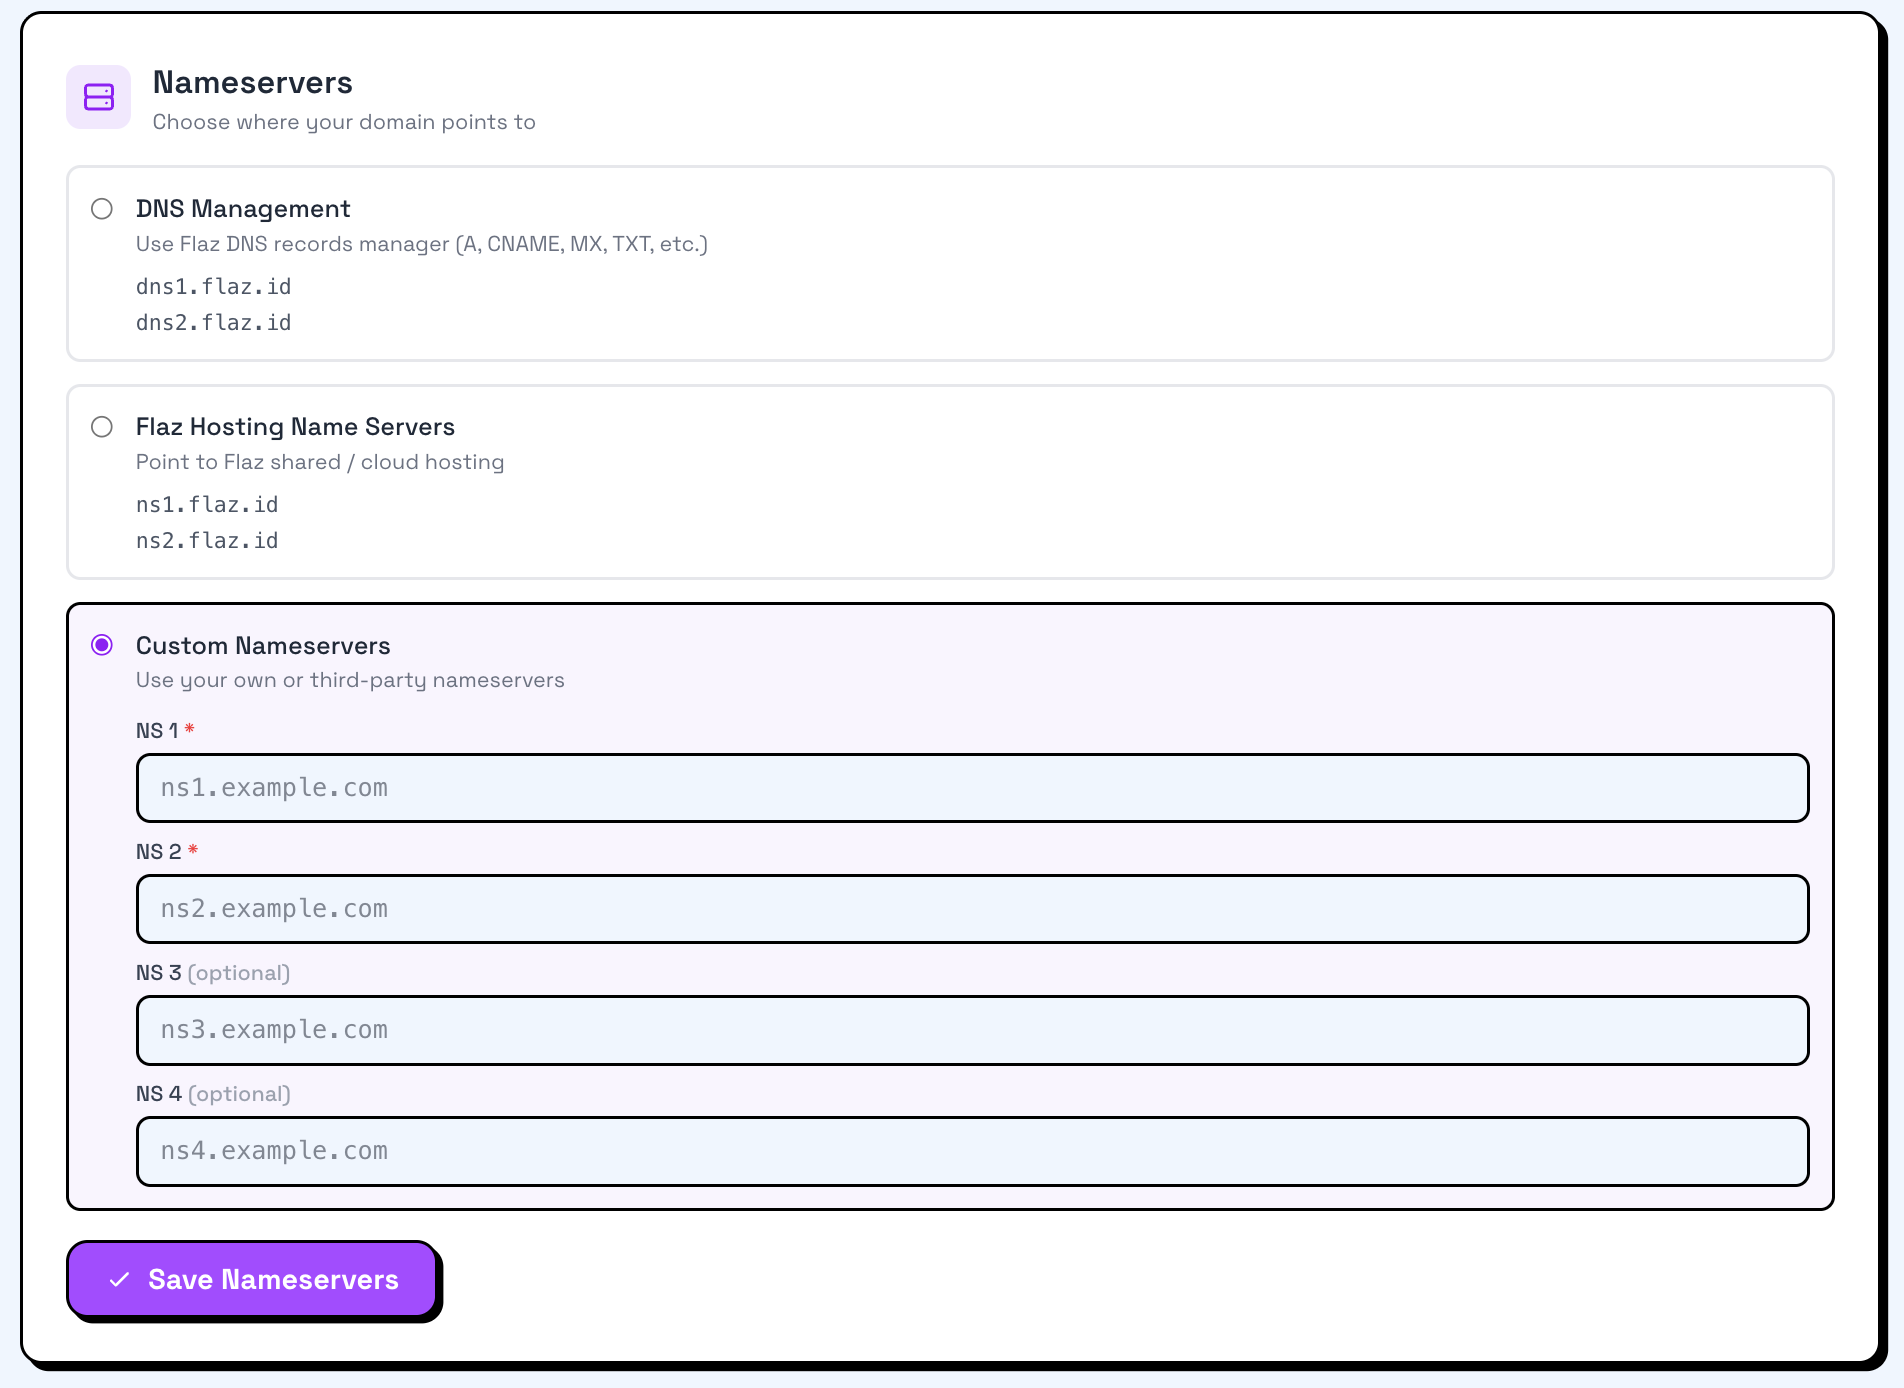
Select the Custom Nameservers option and then enter the names you just created, namely ns1.yourdomain.com and ns2.yourdomain.com. Click the Save Nameservers button to save these settings. If you are using a VPS and don't know how to manage it, please read How to Login to VPS via SSH as the first step in setting up your server.
Important Notes
This nameserver change requires propagation time across the entire internet network. It usually takes between 1 to 24 hours depending on the internet service provider you use.
During this waiting period, your website may not be accessible stably. We recommend making this configuration during quiet visitor hours so as not to interfere with your website's activities. If you still experience problems, please contact the Flaz Cloud support team so we can help conduct further checks.
Was this article helpful?